How to automate ChatGPT prompts using Zapier
Automation is the future of productivity, and one powerful way to achieve that is by integrating ChatGPT with automation tools. If you're looking to streamline repetitive tasks and automate workflows effortlessly, this step-by-step guide will show you exactly how to do it using Zapier. In this example, we’ll create an automation to generate email subject lines automatically based on email content, but the same process can be applied to countless other use cases.
Let’s dive in!
Understanding the process and tools used
What is Zapier?
Zapier is a no-code automation tool that connects various apps and services. It enables you to create workflows, called "Zaps," where specific "triggers" initiate actions in other apps.
Why ChatGPT?
ChatGPT’s AI capability to process and generate human-like text makes it a versatile tool for automating tasks like content generation, customer interactions, summarizations, and more.
Workflow overview
We will create a 3-step automation to make ChatGPT generate subject lines for emails added to a specific folder. The steps are:
- Set up a Zapier workflow where a file added to a Dropbox folder acts as the trigger.
- Use ChatGPT to process the email content.
- Save the AI-generated subject lines into a designated folder automatically.
Step 1: Setting up Zapier
Step 1.1: Login or sign up for Zapier
First, head to Zapier and sign up if you’re a new user or log in to your account. Once logged in, you’ll access an intuitive dashboard to create your first automation.

This is the Zapier dashboard where you will create your automation.
Step 1.2: Key concept - Triggers
Automation starts with a trigger. In Zapier, a trigger is an event that sets the workflow into motion, like the first domino in a chain reaction. For example, when a new file is added to a specified Dropbox folder, this trigger will tell the automation to kick off.
Step 2: Creating a trigger for the automation
Step 2.1: Create a dedicated folder on Dropbox
To prepare for our workflow setup, create a new folder in Dropbox. For this example:
- Name Folder 1: Drop Zone Emails (where emails to be processed are dropped).
- Name Folder 2: Subject Lines (where generated subject lines will be saved).
Step 2.2: Set the trigger in Zapier
- Choose Dropbox as the app for your trigger.
- Set the trigger event to ‘New File in Folder’. This ensures the workflow activates every time a new file is added to the specified Dropbox folder.
- Select the correct Dropbox account and folder (i.e., "Drop Zone Emails").

This is the step where you configure the Dropbox folder as the trigger for the automation.
Step 3: Testing the trigger
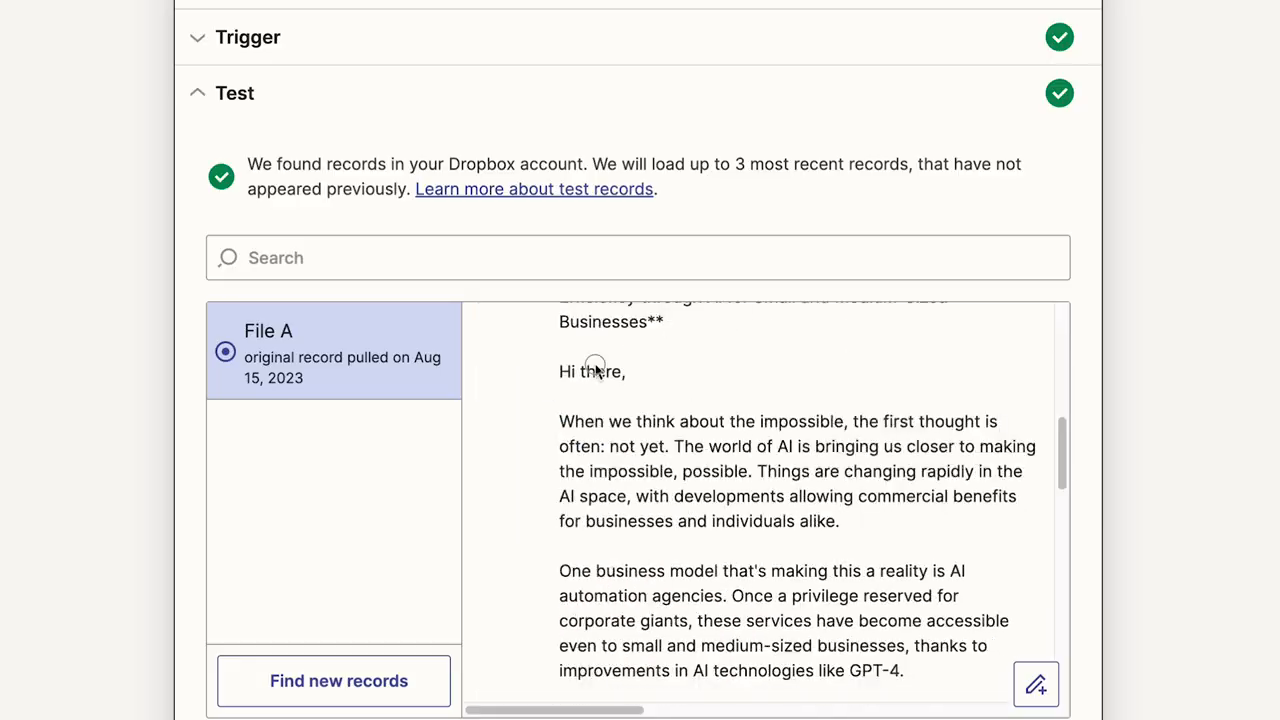
To ensure everything works fine, drop a test file (e.g., a .txt file containing an email draft) in the folder. Then, return to Zapier and click ‘Test Trigger’. This will allow Zapier to confirm it has detected the file correctly.
For example, if the test file was named “freemail.txt” and contained your email draft text, you should see its details displayed under the trigger test results.
Step 4: Adding actions to the trigger
Now that the trigger is working correctly, you’ll add two actions to the Zap: one to process the email content with ChatGPT and the other to save the AI-generated subject lines.
Step 4.1: Integrate ChatGPT into the workflow
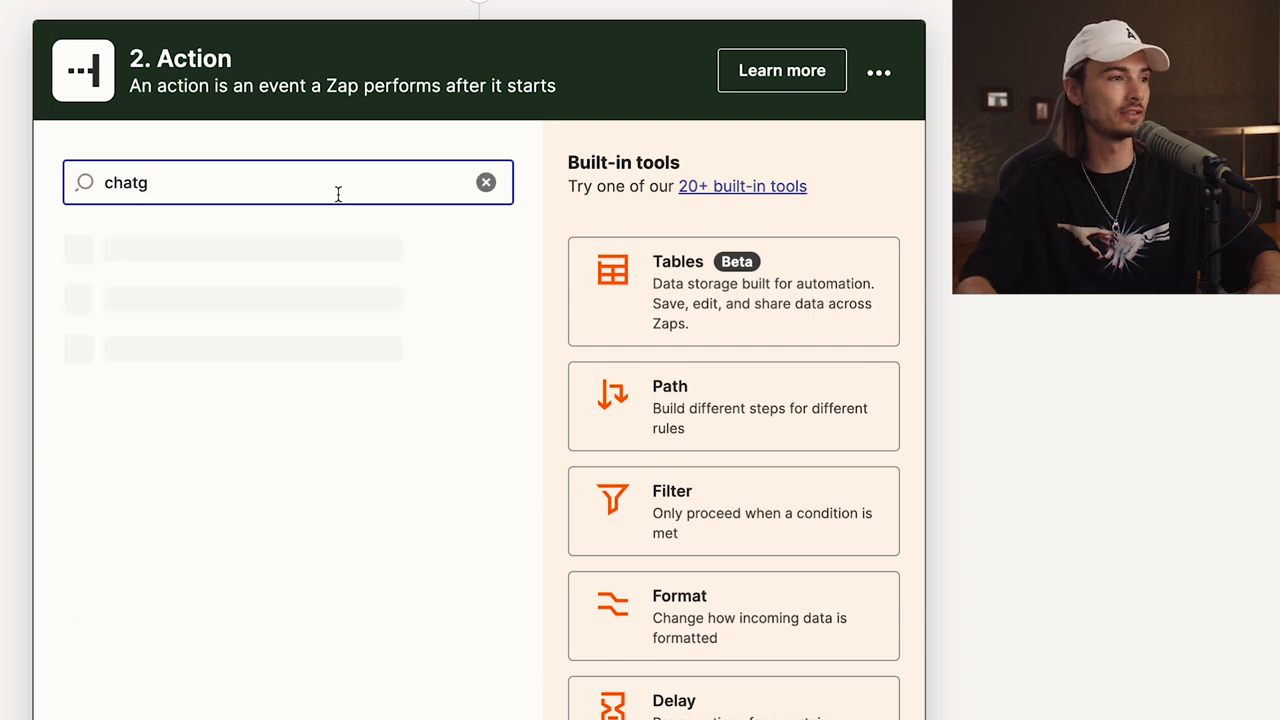
- Add ChatGPT as the app for the first action step.
- Choose ‘Conversation’ (basic conversation in ChatGPT) as the event.
- Connect to your OpenAI account.
- Customize the prompt:
- Set the "user message" to instruct ChatGPT to generate subject lines based on the email content. For example, write a prompt like:
“Generate 5 email subject lines for an email announcement. Here’s the email content: {{File Content from Step 1}}” - Ensure you select GPT-4 as the model for better results.
- Set the "user message" to instruct ChatGPT to generate subject lines based on the email content. For example, write a prompt like:

This is where you configure ChatGPT to process your email content and generate subject lines.
Step 4.2: Test the ChatGPT integration
After saving the configuration, run a test to ensure ChatGPT generates subject lines as expected. You should receive an output like:
- “Introducing our latest AI updates!”
- “Automate tasks like never before.”
- “The future of AI-powered workflows.”
- “Streamline your processes effortlessly.”
- “Maximize productivity with automation tools.”
Step 5: Saving the AI-generated results
Finally, save the ChatGPT-generated subject lines back to a Dropbox folder for easy access.
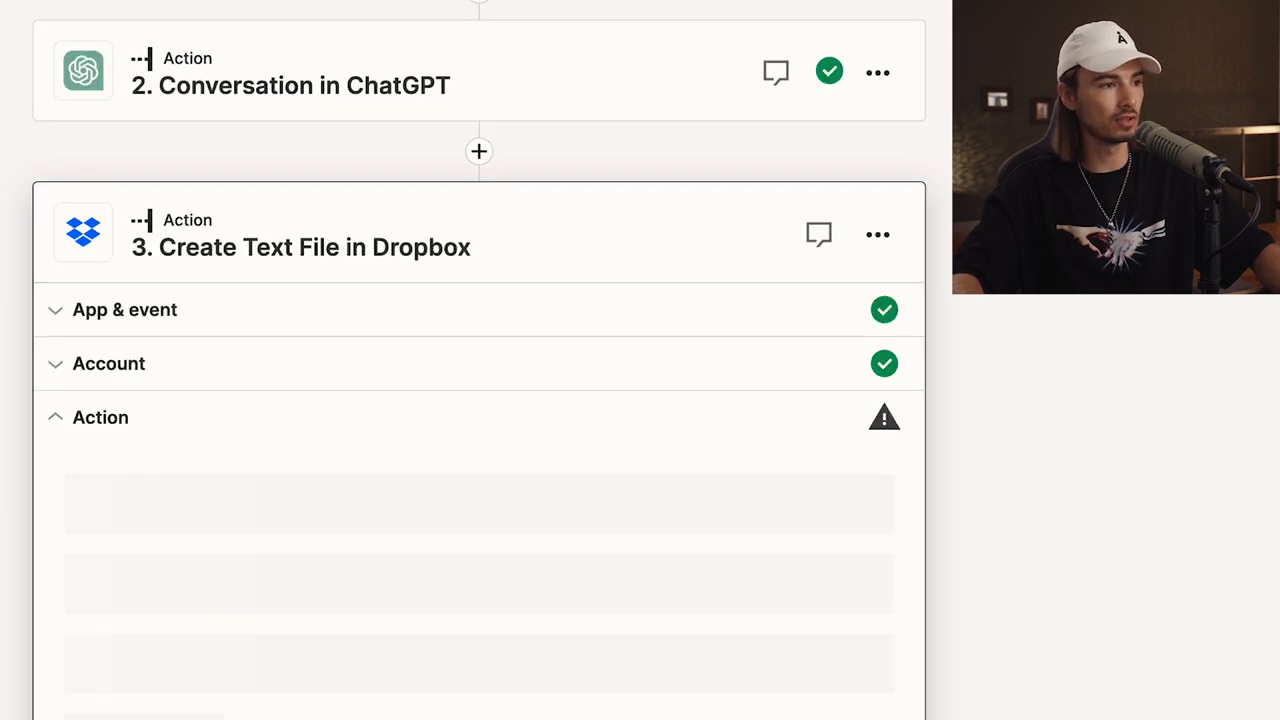
- Add another action in the Zap workflow.
- Choose Dropbox as the app and ‘Create a Text File’ as the event.
- Configure where the file should be saved:
- Folder: Select Subject Lines (created earlier).
- File Name: Use a dynamic name like “{{File Name from Step 1}}_Auto_Subjects”.
- File Content: Map the “Assistant Response” from ChatGPT as the file content.

This step shows how to save ChatGPT-generated subject lines automatically into the folder of your choice.
Step 5.1: Publish your workflow
Once all steps are correctly set up and tested, publish your workflow. Your automation is now running 24/7 and will automatically process new files added to the folder!
Real-time demonstration and final test
To ensure everything is working perfectly:
- Drop an email content file into the "Drop Zone Emails" folder.
- Wait a moment for Zapier to trigger the workflow.
- Check the "Subject Lines" folder for a newly created file containing the AI-generated email subject lines.

The workflow runs seamlessly, generating and saving results in real time.
Customizing your workflow for endless possibilities
Zapier supports over 5,000 apps, enabling nearly endless automation possibilities. By combining its triggers and actions with ChatGPT’s capabilities, you can automate tasks like:
- Generating customer support replies.
- Writing personalized marketing emails.
- Automatically summarizing documents or reports.
- Transforming raw data into actionable insights.
Conclusion
Through this guide, you’ve learned to create a powerful 3-step automation using Zapier and ChatGPT that generates email subject lines automatically. With a single setup, this workflow can save you hours in daily tasks while enhancing productivity and accuracy.
Start experimenting with custom workflows tailored to your business or personal needs, and unlock the true potential of AI-driven automation. For more ideas on automation, check out the resources and tools linked in the video description!
