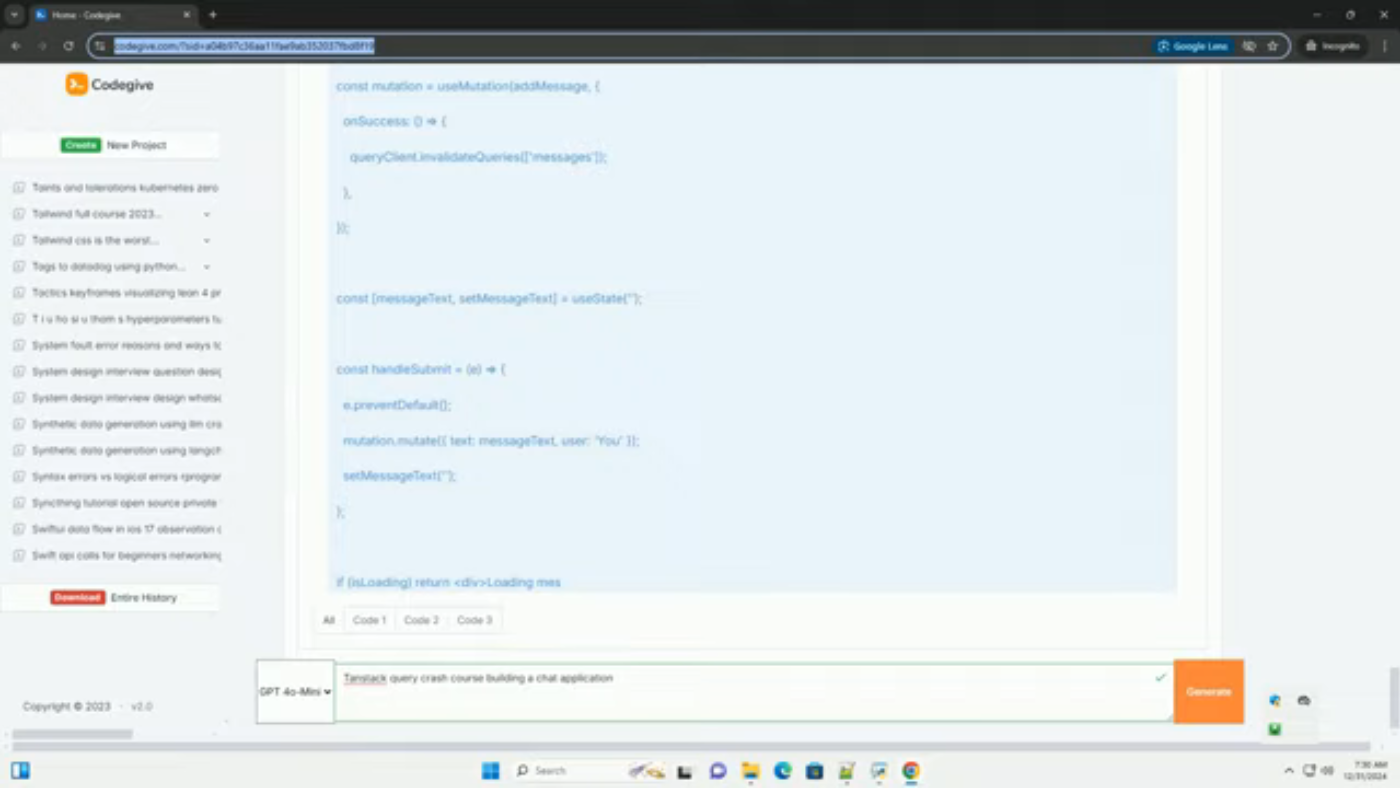
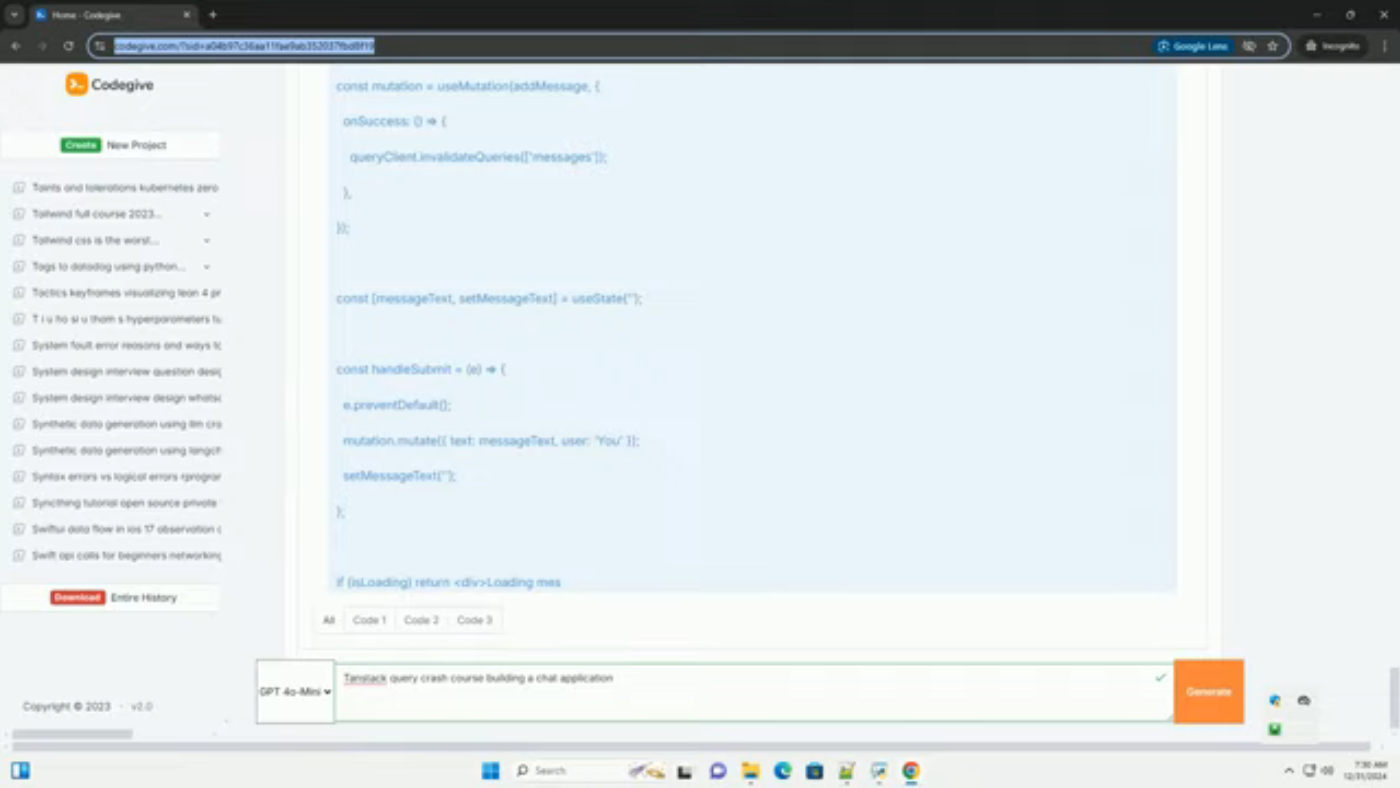
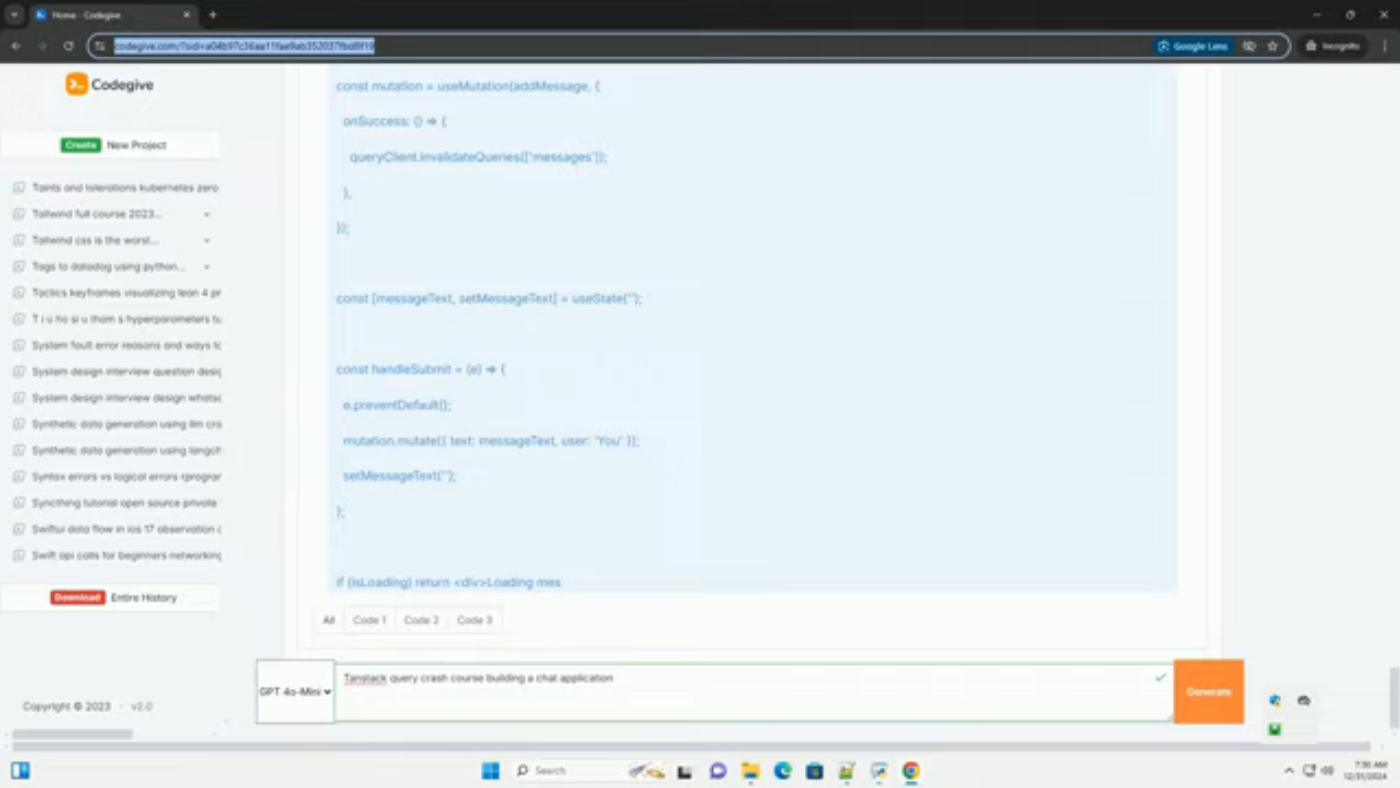
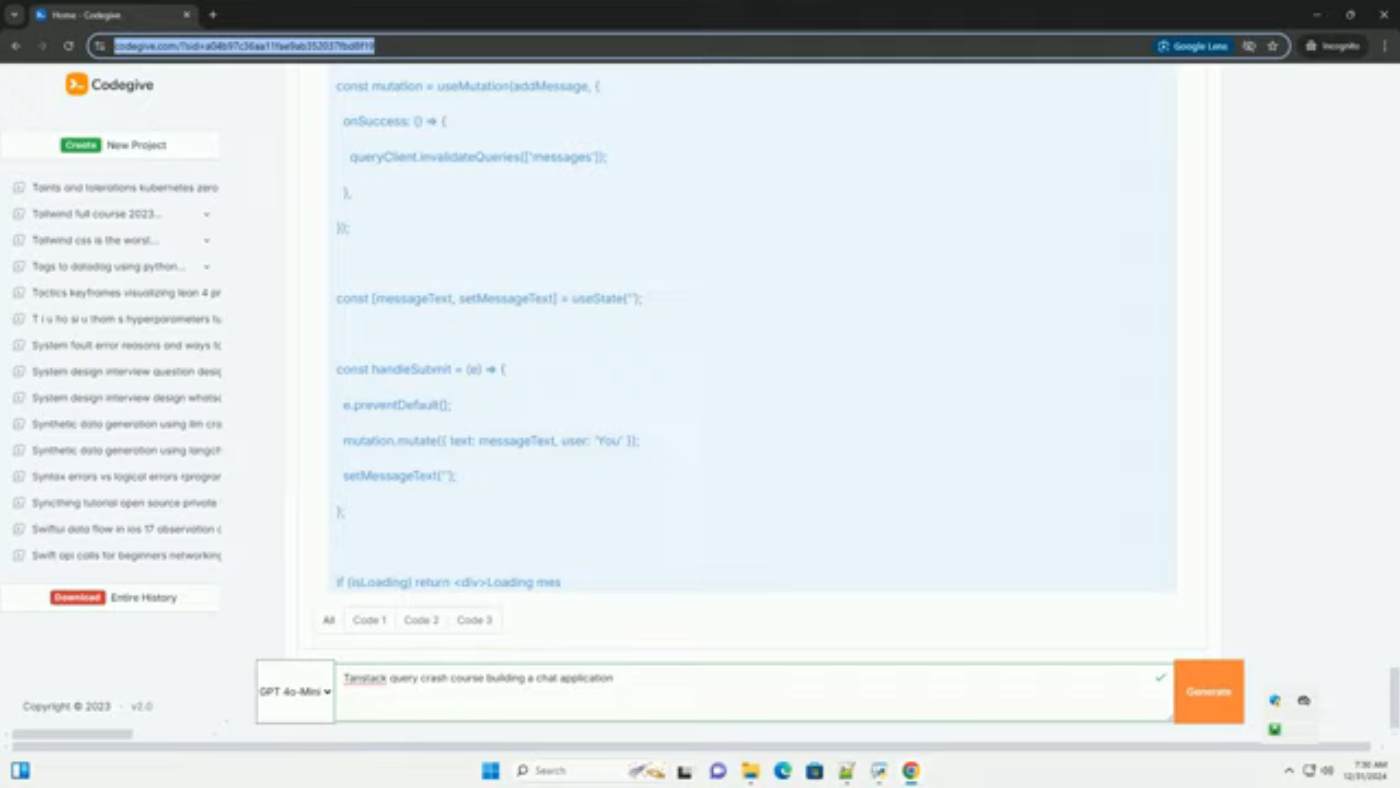
Building a Chat Application with TanStack Query
Introduction to TanStack Query
TanStack Query is a powerful library for managing server state in React applications. It simplifies data fetching, caching, synchronization, and updating of server state, making it easier to build fast and user-friendly applications. In this tutorial, we will build a simple chat application using TanStack Query to manage our data fetching and caching. We'll use React as our frontend framework and a mock API for the chat messages.
 Introduction to TanStack Query
Prerequisites
Before we start, ensure you have the following installed:
- Node.js
- Basic knowledge of React
- Familiarity with hooks
 Prerequisites
Step 1: Set up a React Application
First, we need to set up our React application. You can use Create React App for this example.
npx create-react-app chat-app
cd chat-app
Next, install the TanStack Query library:
npm install @tanstack/react-query
Step 2: Create a Mock API
For the purpose of this tutorial, we'll use a simple mock API. You can use a service like json-server to create a mock backend. To install json-server, run:
npm install -g json-server
Create a db.json file in your project root with the following content to represent chat messages:
{
  "messages": [
    { "id": 1, "text": "hello!", "user": "alice" },
    { "id": 2, "text": "hi there!", "user": "bob" }
  ]
}
Now, run the json-server:
json-server --watch db.json --port 5000
Your API will be available at http://localhost:5000/messages.
 Creating Mock API
Step 3: Set up TanStack Query
Now let's set up TanStack Query in our application. Open src/index.js and wrap your application with the QueryClientProvider.
import { QueryClient, QueryClientProvider } from '@tanstack/react-query';
import App from './App';

const queryClient = new QueryClient();

function Root() {
  return (
    <QueryClientProvider client={queryClient}>
      <App />
    </QueryClientProvider>
  );
}
Step 4: Fetching Messages
Next, we'll create a component to fetch and display chat messages. Create a new file src/Chat.js and add the following code:
import { useQuery } from '@tanstack/react-query';

const fetchMessages = async () => {
  const response = await fetch('http://localhost:5000/messages');
  if (!response.ok) {
    throw new Error('Network response was not ok');
  }
  return response.json();
};

function Chat() {
  const { data, error, isLoading } = useQuery('messages', fetchMessages);

  if (isLoading) {
    return <div>Loading messages...</div>;
  }

  if (error) {
    return <div>Error: {error.message}</div>;
  }

  return (
    <div>
      <h1>Chat Messages</h1>
      {data.messages.map((message) => (
        <div key={message.id}>
          <strong>{message.user}</strong>: {message.text}
        </div>
      ))}
    </div>
  );
}

export default Chat;
Step 5: Adding a Message Form
Now, let's add a form to allow users to send new messages. Update the src/Chat.js file with the following code:
import { useQuery, useMutation } from '@tanstack/react-query';

// ... (rest of the code remains the same)

function Chat() {
  // ... (rest of the code remains the same)

  const [messageText, setMessageText] = useState('');

  const addMessage = useMutation(
    async (newMessage) => {
      const response = await fetch('http://localhost:5000/messages', {
        method: 'POST',
        headers: { 'Content-Type': 'application/json' },
        body: JSON.stringify(newMessage),
      });
      if (!response.ok) {
        throw new Error('Network response was not ok');
      }
      return response.json();
    },
    {
      onSuccess: () => {
        queryClient.invalidateQueries('messages');
      },
    }
  );

  const handleSubmit = (event) => {
    event.preventDefault();
    addMessage.mutate({ text: messageText, user: 'You' });
    setMessageText('');
  };

  return (
    <div>
      <h1>Chat Messages</h1>
      {data.messages.map((message) => (
        <div key={message.id}>
          <strong>{message.user}</strong>: {message.text}
        </div>
      ))}
      <form onSubmit={handleSubmit}>
        <input
          type="text"
          value={messageText}
          onChange={(event) => setMessageText(event.target.value)}
          placeholder="Type your message..."
        />
        <button type="submit">Send</button>
      </form>
    </div>
  );
}

export default Chat;
Conclusion
In this tutorial, we successfully built a simple chat application using TanStack Query for data fetching and state management. We learned how to set up a React application with TanStack Query, fetch data from a mock API, display data in a React component, post new messages to the API, and update the UI using mutations. Feel free to extend this application by adding user authentication, message timestamps, or real-time capabilities using WebSockets or other technologies. Happy coding!

