Connecting Google Drive to Make.com: A Step-by-Step Guide
Connecting Google Drive to Make.com is a straightforward process that can be completed in a few minutes. In this article, we will walk through the steps to connect Google Drive to Make.com, enabling you to automate your workflow and integrate Google services for your AI agent or AI agency.
Introduction to Make.com and Google Drive Integration
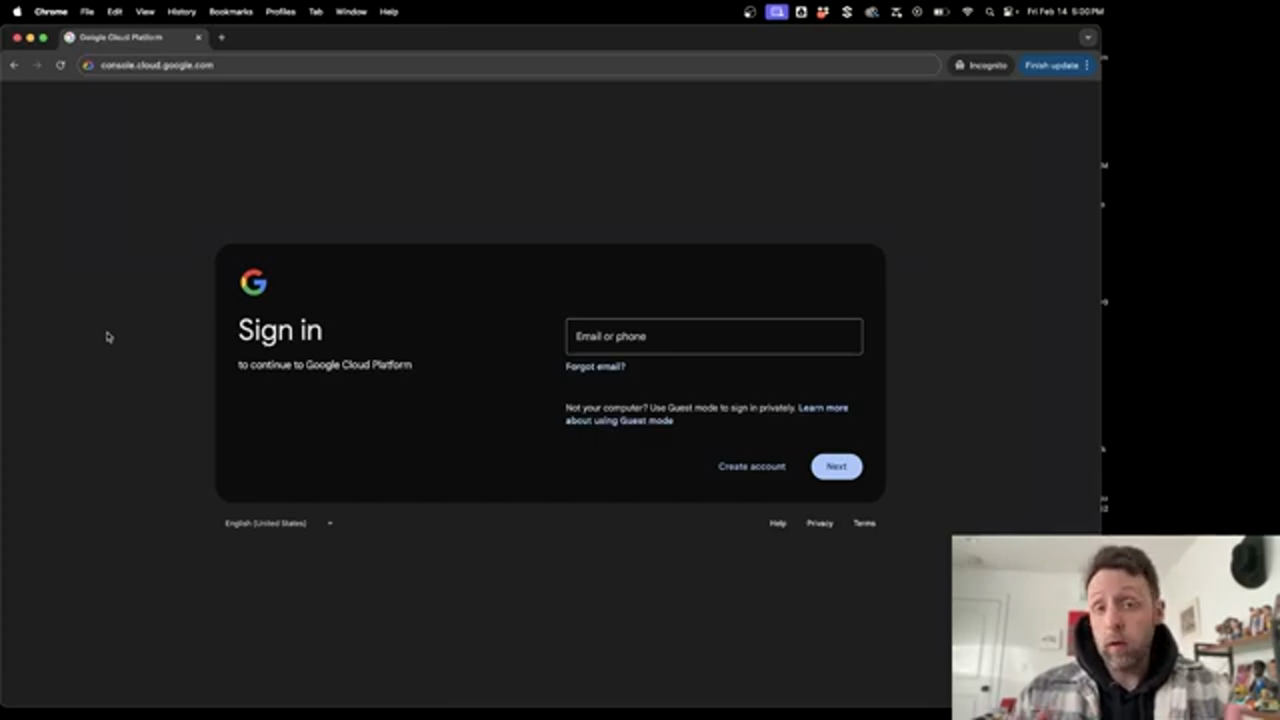
Make.com is a powerful automation tool that allows you to connect various apps and services, including Google Drive. By integrating Google Drive with Make.com, you can automate tasks such as file management, data transfer, and more. To start the integration process, you need to head over to the Google Cloud Console and sign in with your Google account.
 Connecting to Google Cloud Console
Creating a New Project in Google Cloud Console
Once you are logged in, you need to create a new project in the Google Cloud Console. This project will serve as a container for your Google Drive integration with Make.com. To create a new project, click on the "Select a project" dropdown menu and then click on "New Project". Enter a name for your project, and then click on the "Create" button.
Enabling the Google Drive API
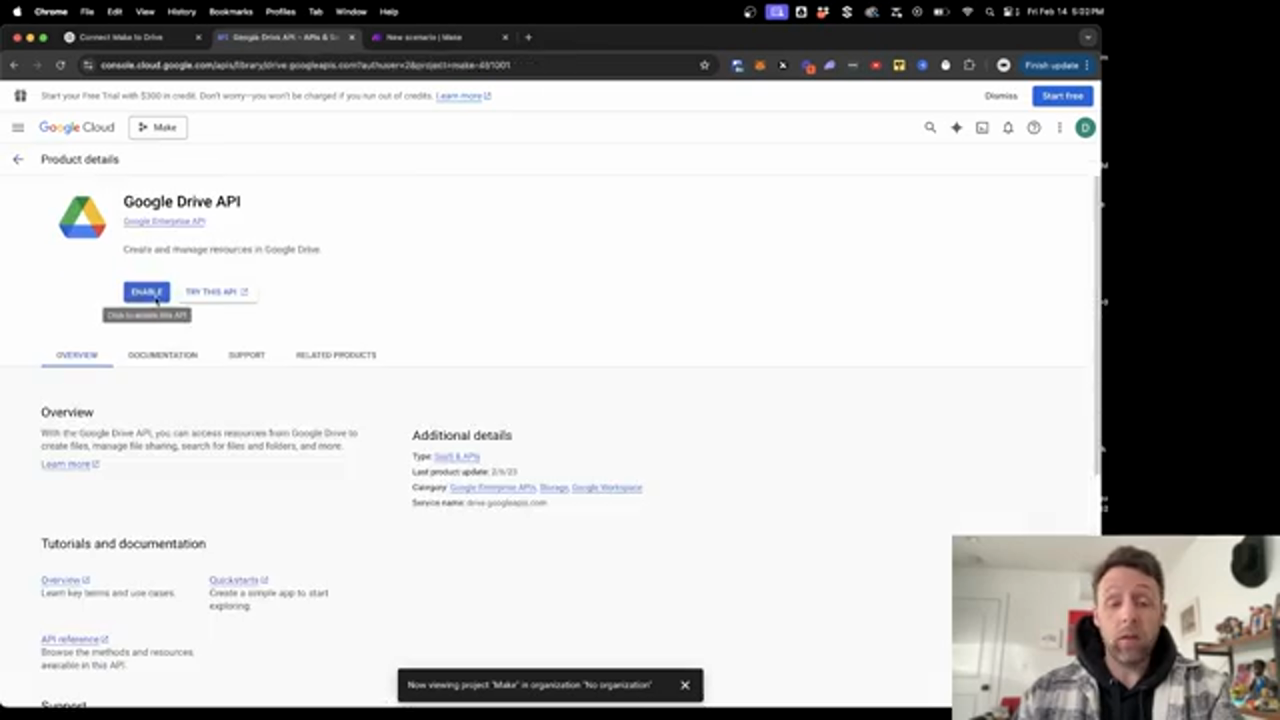
After creating your project, you need to enable the Google Drive API. To do this, navigate to the API Library page and search for "Google Drive API". Click on the result, and then click on the "Enable" button.
Creating OAuth Credentials
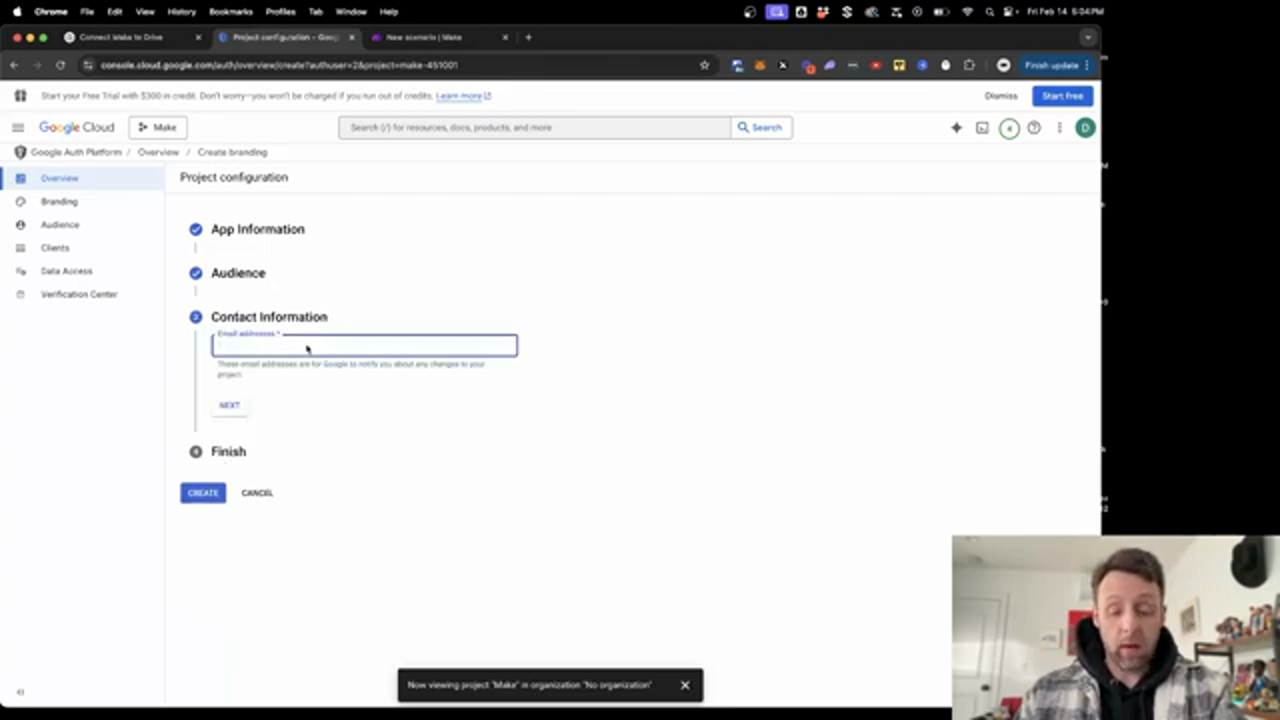
To connect Google Drive to Make.com, you need to create OAuth credentials. To do this, navigate to the OAuth consent screen and click on "Get started". Enter a name for your app, and then click on the "Next" button. Follow the prompts to create your OAuth credentials.
Configuring Make.com Integration
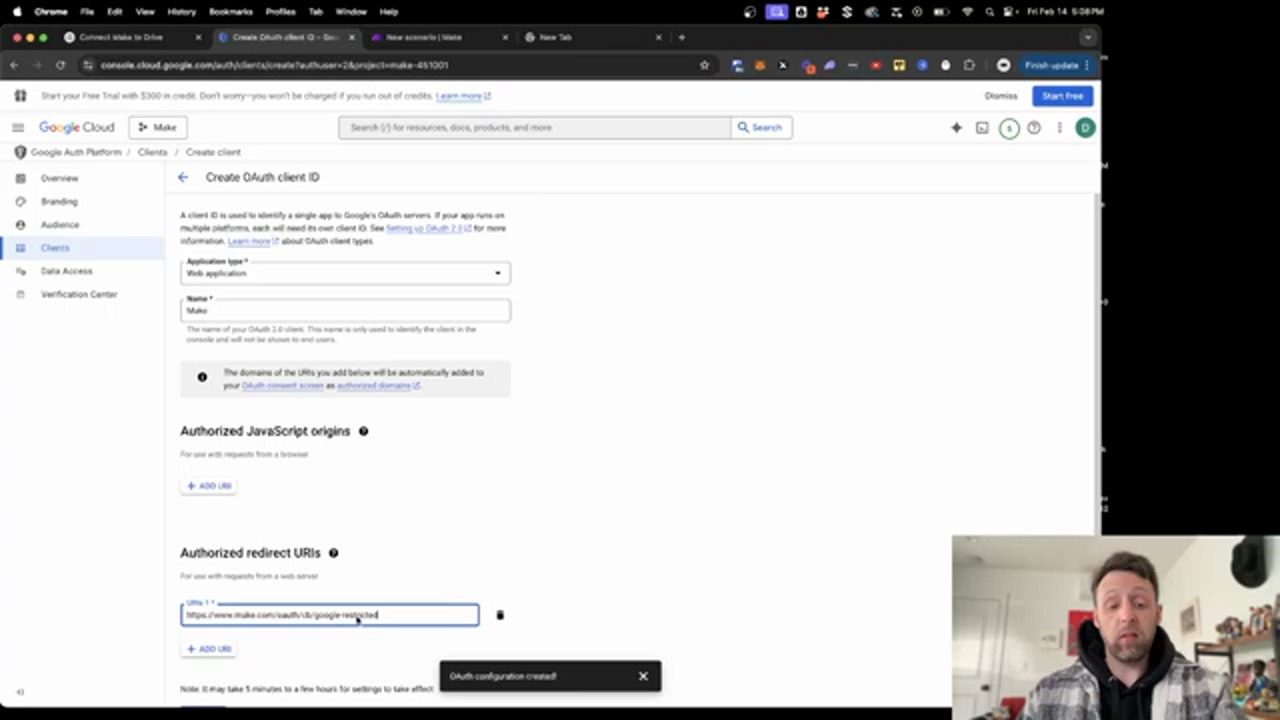
Now that you have your OAuth credentials, you can configure the Make.com integration. To do this, navigate to the Make.com website and create a new scenario. Click on the "Plus" button to add a new module, and then search for "Google Drive". Select the "Google Drive" module, and then click on the "Add" button.
 Configuring Make.com Integration
Setting up Proper Authentication
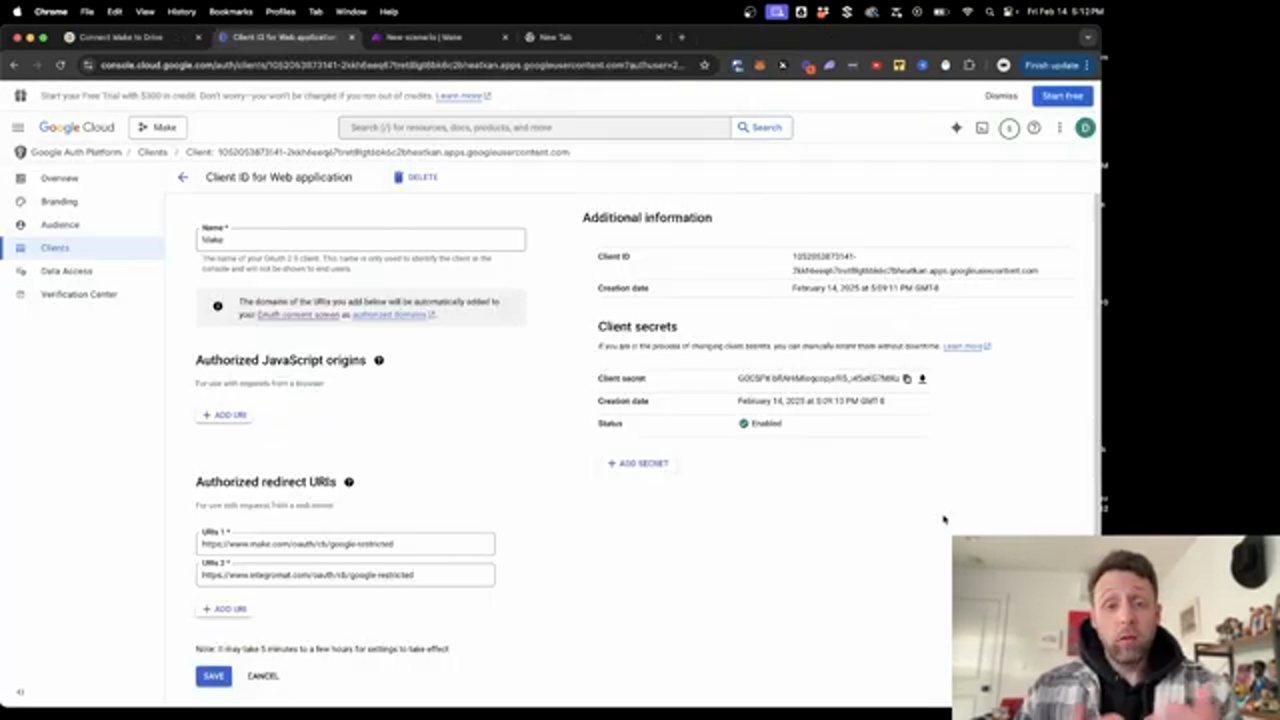
To authenticate your connection, you need to add your client ID and client secret to the Make.com module. You can find these credentials in the Google Cloud Console. Copy and paste the credentials into the Make.com module, and then click on the "Save" button.
Adding Scopes to the Application
To give Make.com access to your Google Drive files, you need to add scopes to the application. To do this, navigate to the Google Cloud Console and click on the "Add or remove scopes" button. Search for the "drive.readonly" scope, and then click on the "Add" button.
Connecting Google Drive to Make.com
Now that you have set up the integration, you can connect Google Drive to Make.com. To do this, click on the "Sign in with Google" button, and then follow the prompts to authenticate your connection.
Verifying the Connection
Once you have connected Google Drive to Make.com, you can verify the connection. To do this, navigate to the Make.com scenario and click on the "Test" button. If the connection is successful, you should see a success message.
Conclusion
In conclusion, connecting Google Drive to Make.com is a straightforward process that can be completed in a few minutes. By following the steps outlined in this article, you can automate your workflow and integrate Google services for your AI agent or AI agency. Remember to keep your client ID and client secret safe, and to only share them with trusted individuals. With Make.com and Google Drive, you can automate tasks and streamline your workflow, freeing up time to focus on more important things.

