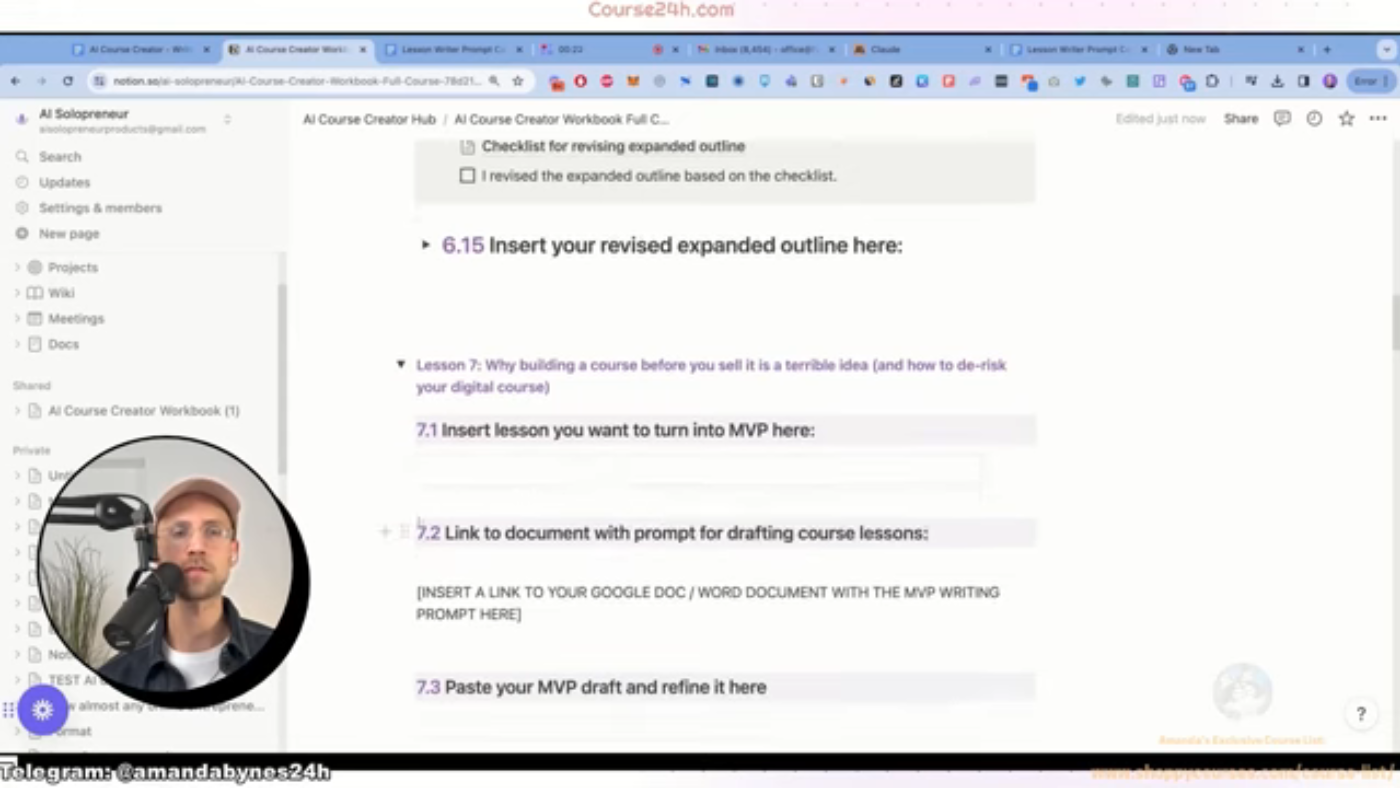
Creating an MVP Lesson
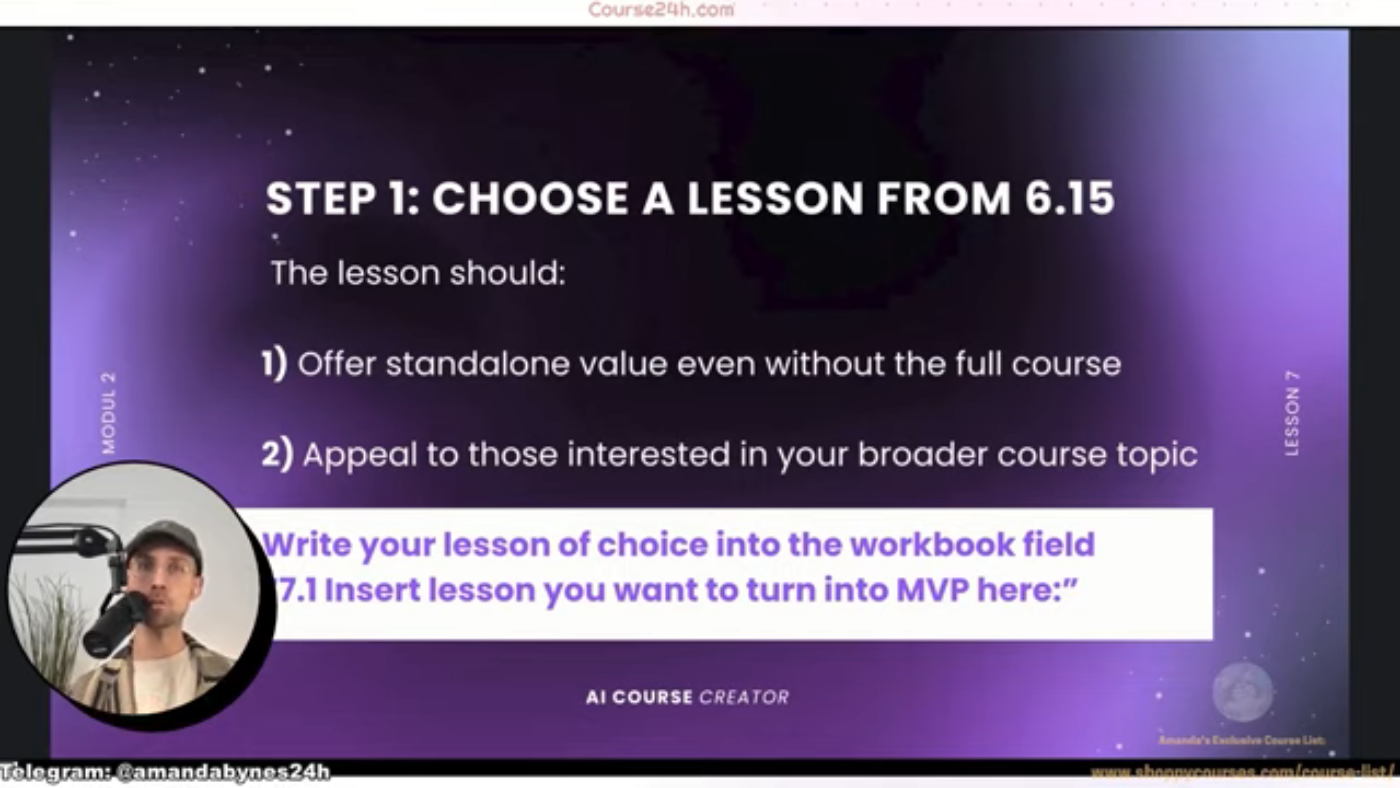
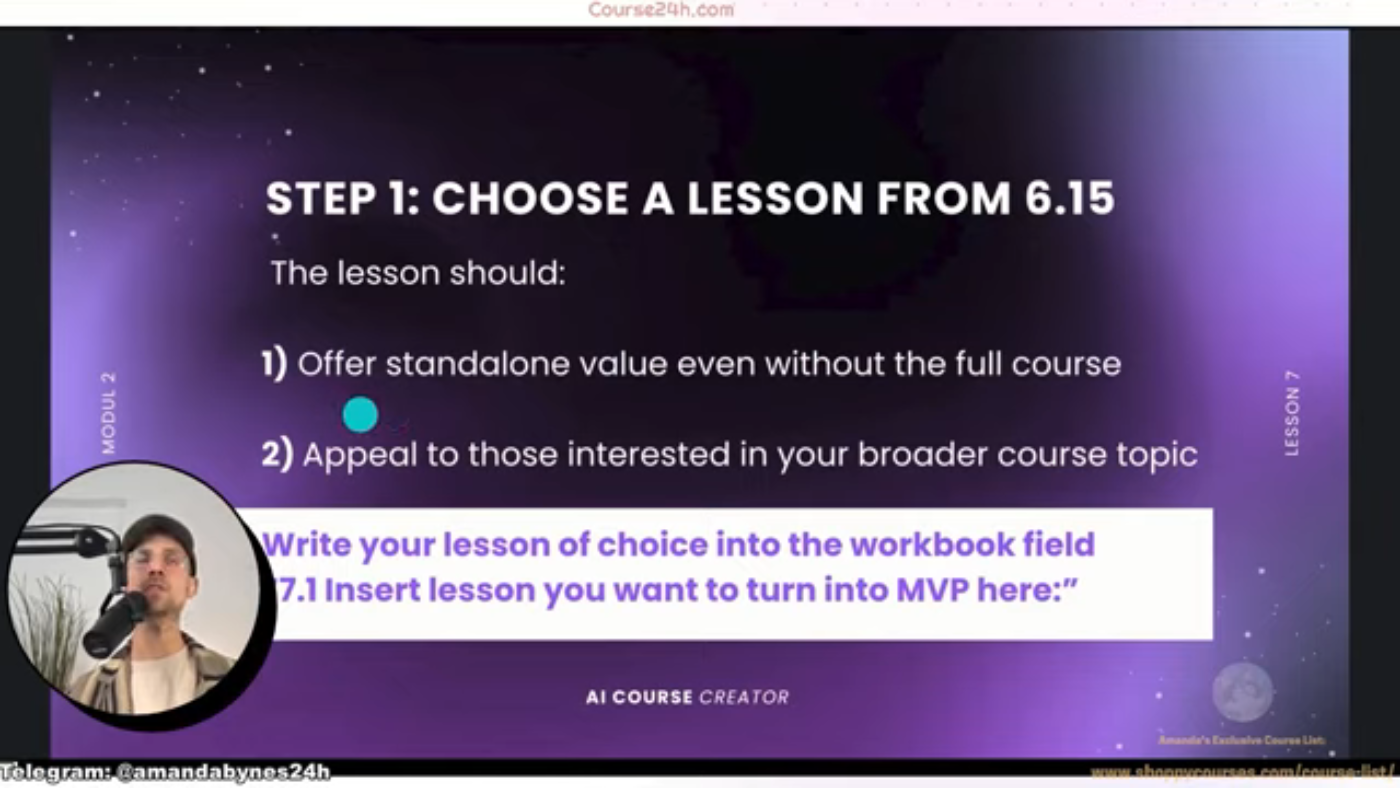
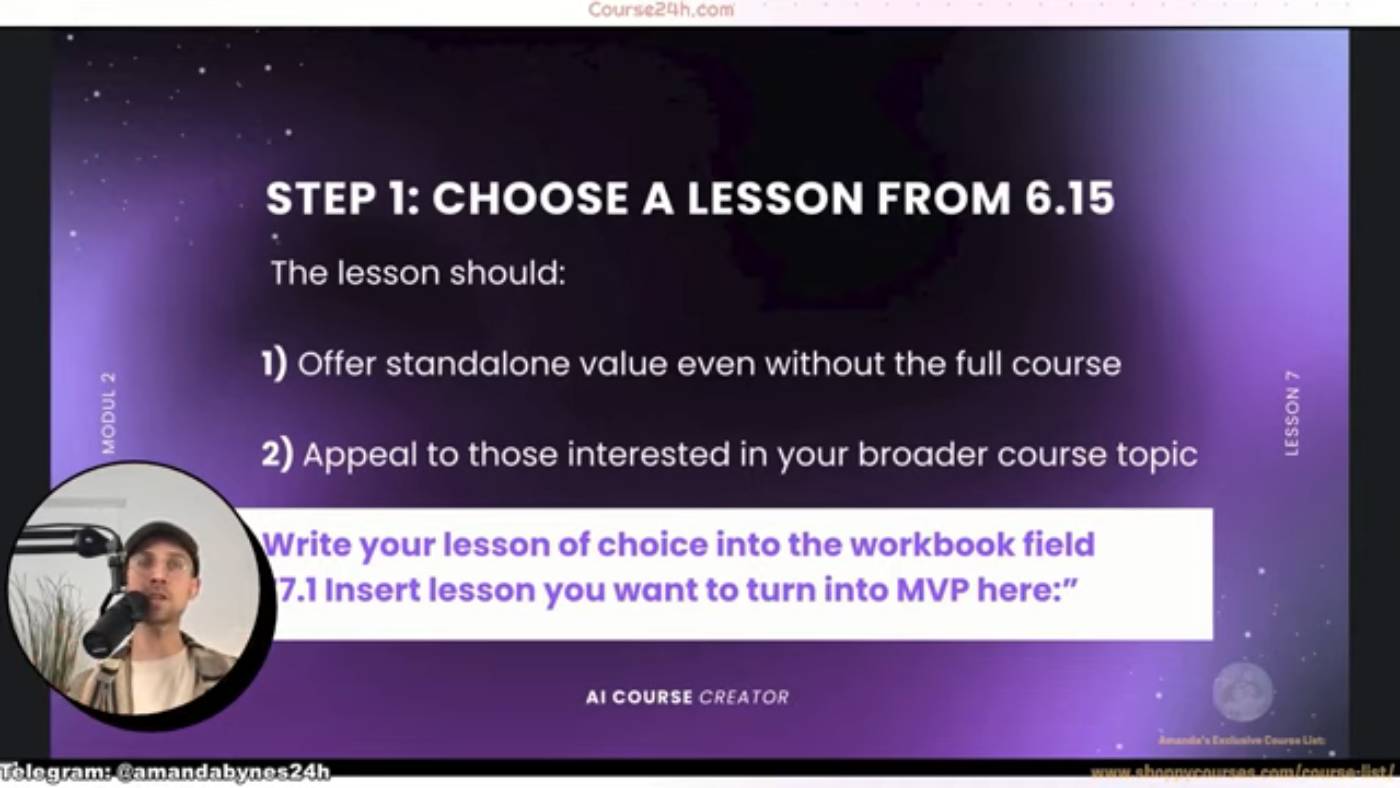
The process of creating a Minimum Viable Product (MVP) lesson involves several steps. To begin, the instructor advises choosing a lesson from the workbook that will be expanded into an MVP. This lesson should offer standalone value, even without the full course, and appeal to those interested in the broader course topic.
Step 1: Choosing the Lesson
The first step is to select a lesson that can be used as an MVP. The instructor chose lesson number two, which was titled "How to Find a $100,000 Course Idea." This lesson was selected because it was thought that people interested in finding a $100,000 idea would also be interested in building on that idea.
Step 2: Copying the Lesson
Once the lesson is chosen, it needs to be copied and inserted into the workbook. The instructor copied lesson number two from the expanded outline in 6.15 and pasted it into 7.1.
 This is the caption for the image 1
Step 3: Inserting the Lesson into the Workbook
After copying the lesson, it is inserted into the workbook. The instructor inserted the lesson into 7.1.
 This is the caption for the image 2
Step 4: Expanding the Lesson
The next step is to expand the lesson. The instructor expanded lesson number two, which was titled "How to Find a $100,000 Course Idea."
Step 5: Creating a Prompt
After expanding the lesson, a prompt needs to be created. The instructor used the command "AC c0000" to create a prompt.
 This is the caption for the image 3
Step 6: Adding the Context
The next step is to add the context. The instructor added the context, which included the customer report.
Step 7: Attaching a File
The instructor also attached a file called "tone of voice text" to the prompt.
Step 8: Saving the Prompt
After creating the prompt, it needs to be saved. The instructor saved the prompt and called it "lesson writer prompt."
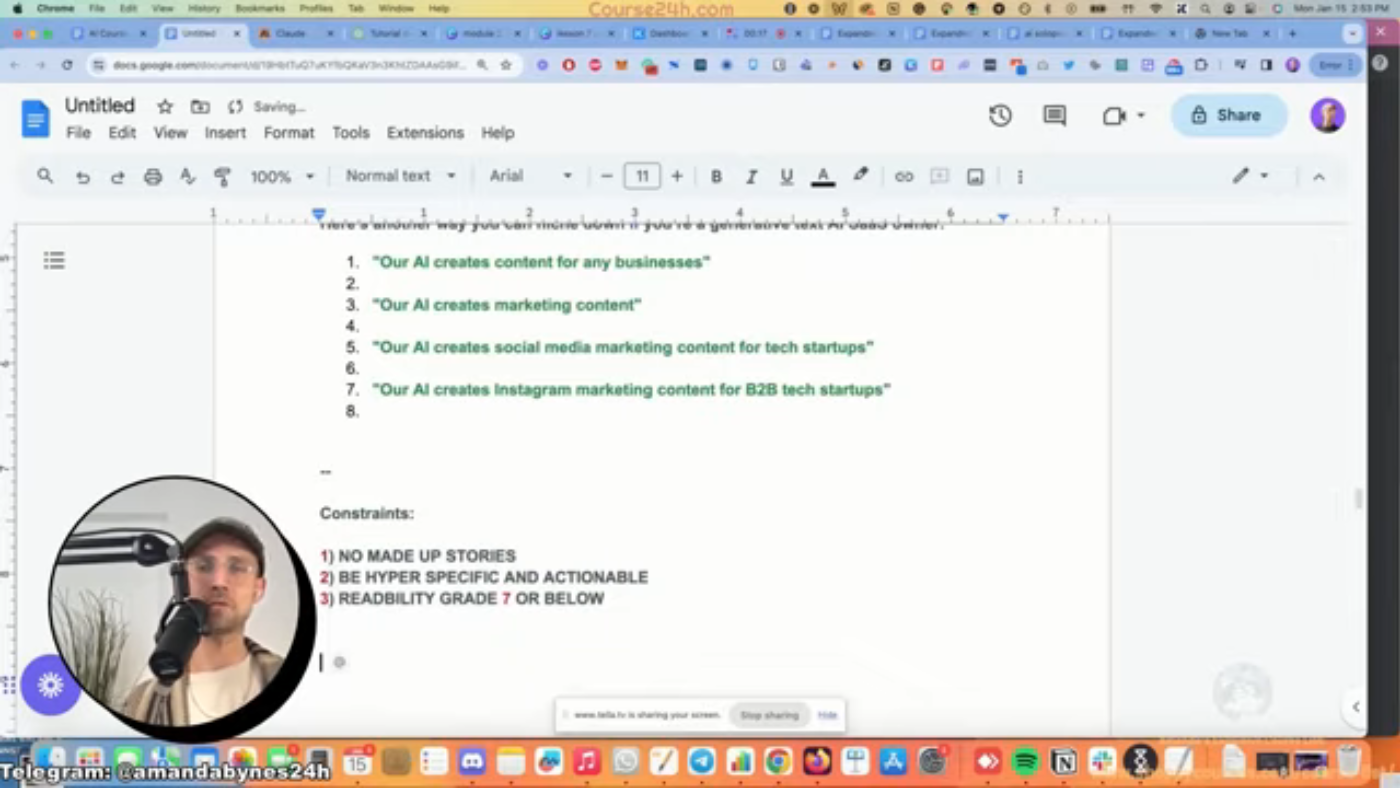 This is the caption for the image 4
Step 9: Copying and Pasting the Link
The final step is to copy and paste the link to the Google document with the MVP writing prompt.
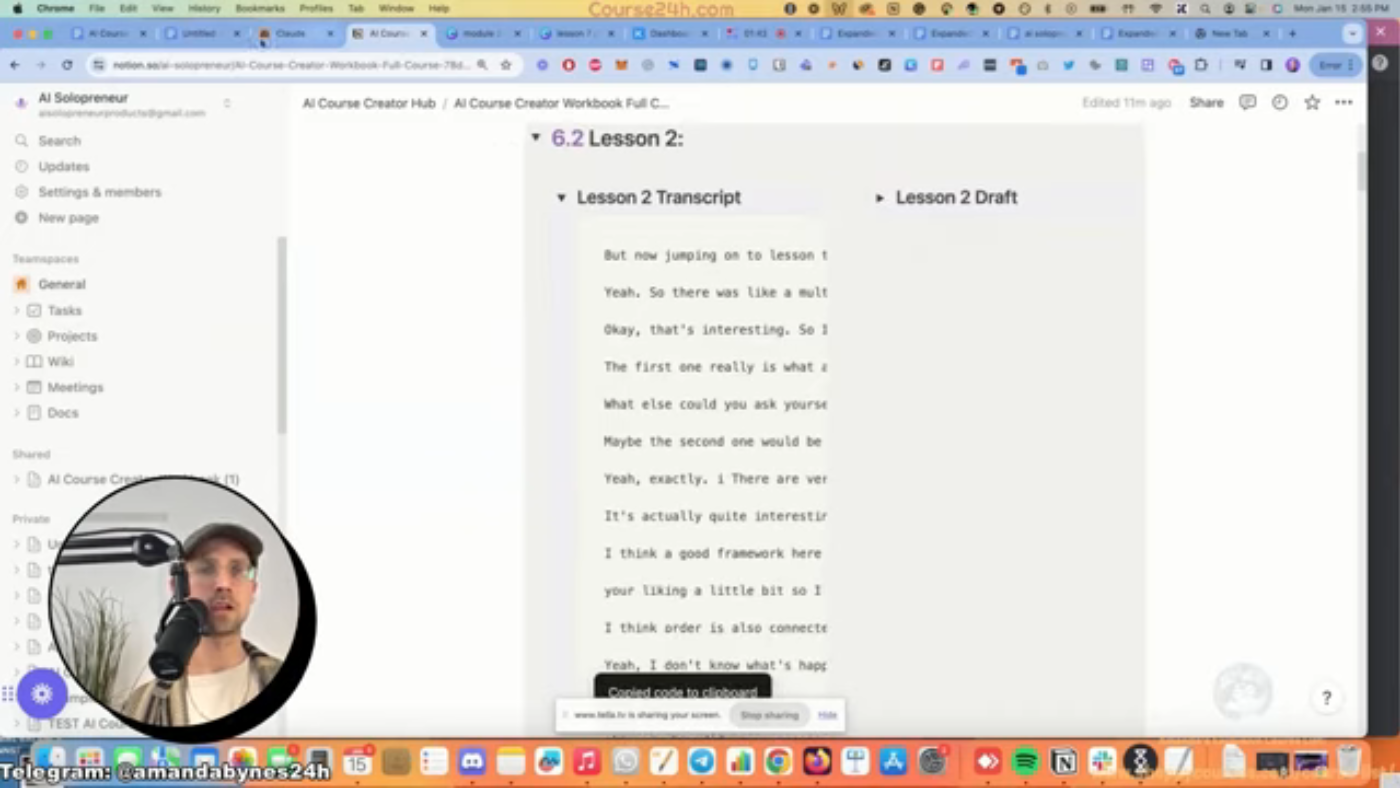 This is the caption for the image 5
Step 10: Refining the Draft
After pasting the link, the draft can be refined.
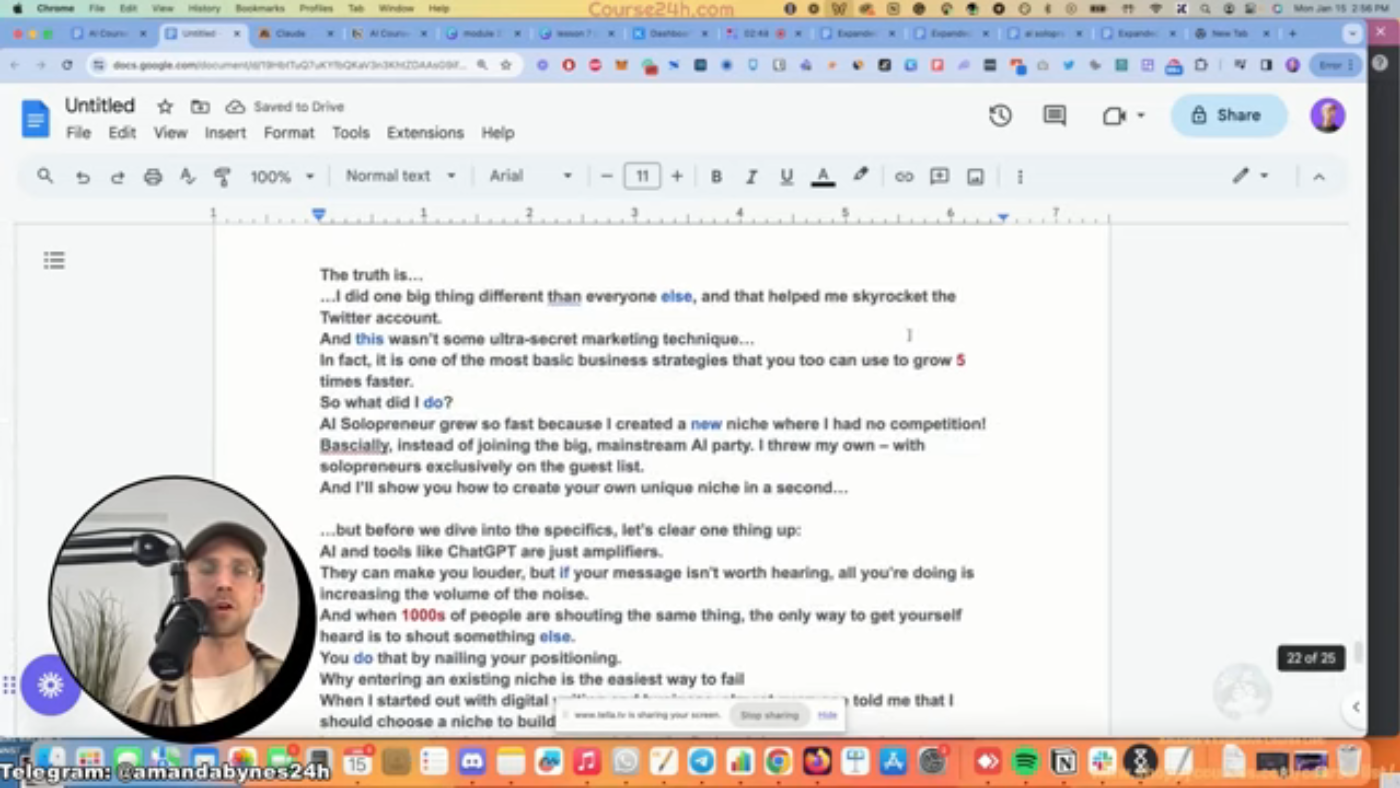 This is the caption for the image 6
Conclusion
Creating an MVP lesson involves several steps, including choosing a lesson, copying and inserting it into the workbook, expanding the lesson, creating a prompt, adding context, attaching a file, saving the prompt, copying and pasting the link, and refining the draft.

