Creating an MVP List and Expanding a Lesson
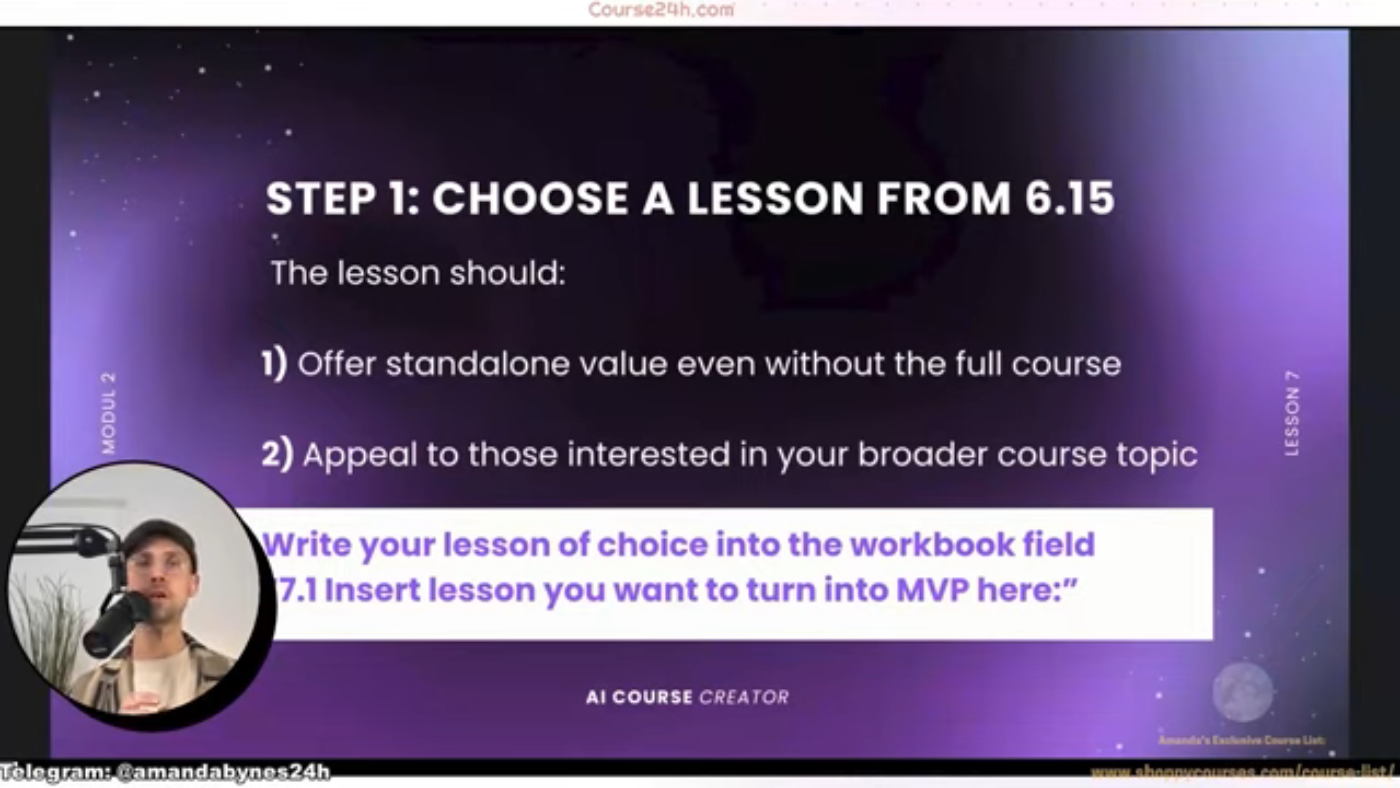
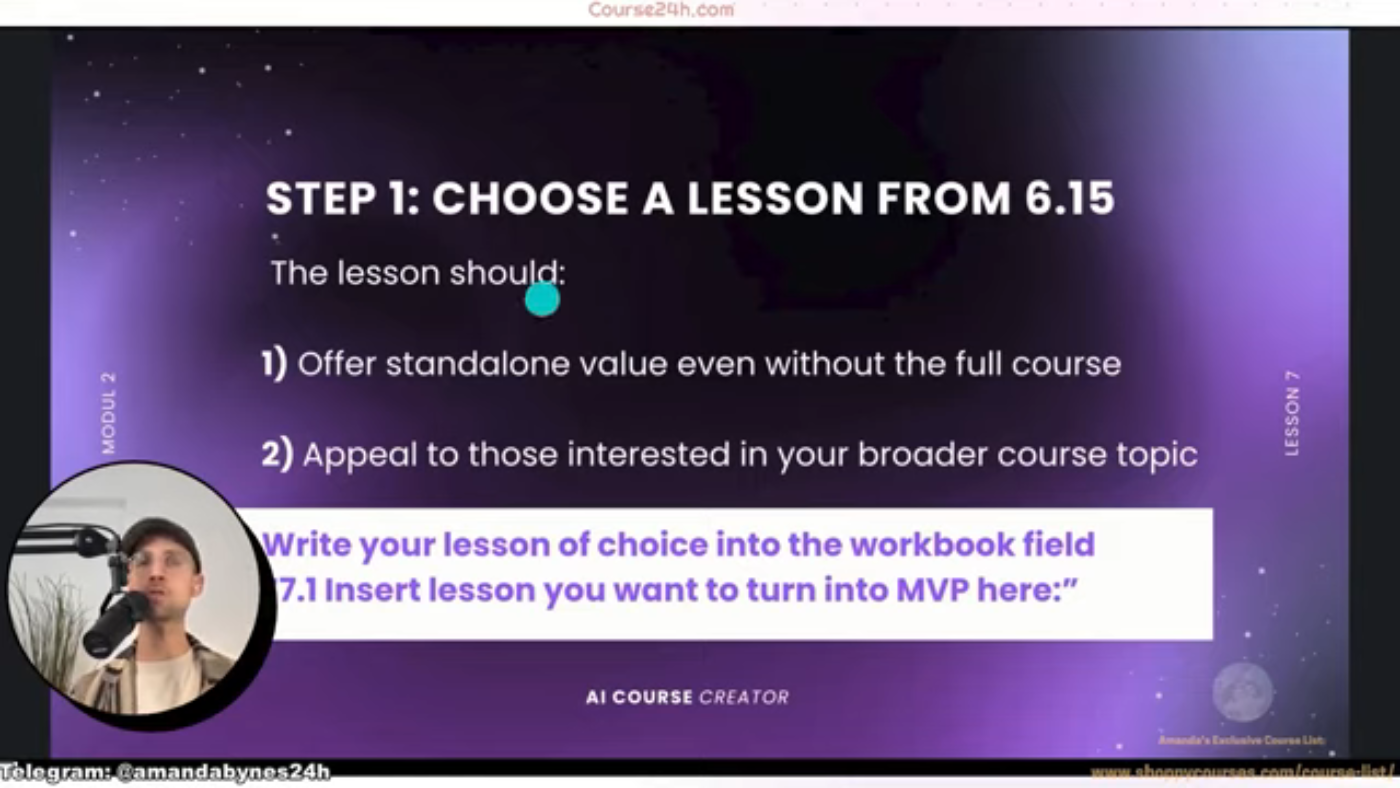
Let's start creating our MVP list and before we can do so, step number one, you have to choose a lesson from your workbook that you'll then expand into your MVP. This lesson should offer standalone value, even without the full course, and it should also appeal to those interested in your broader course topic.
Choosing a Lesson and Creating an MVP
To choose a lesson, go into your workbook, um, have a look at the revised, expanded outline, which should list all the single lessons, and then look for this lesson that you could use as an MVP. For example, I selected lesson number two of this course, um, which was called "how to find a $100,000 course idea." I chose this as an MVP because I thought that people interested in finding a $100,000 idea inside their head would also be interested in building that, so that was the process why I chose mine.
Expanding the Lesson
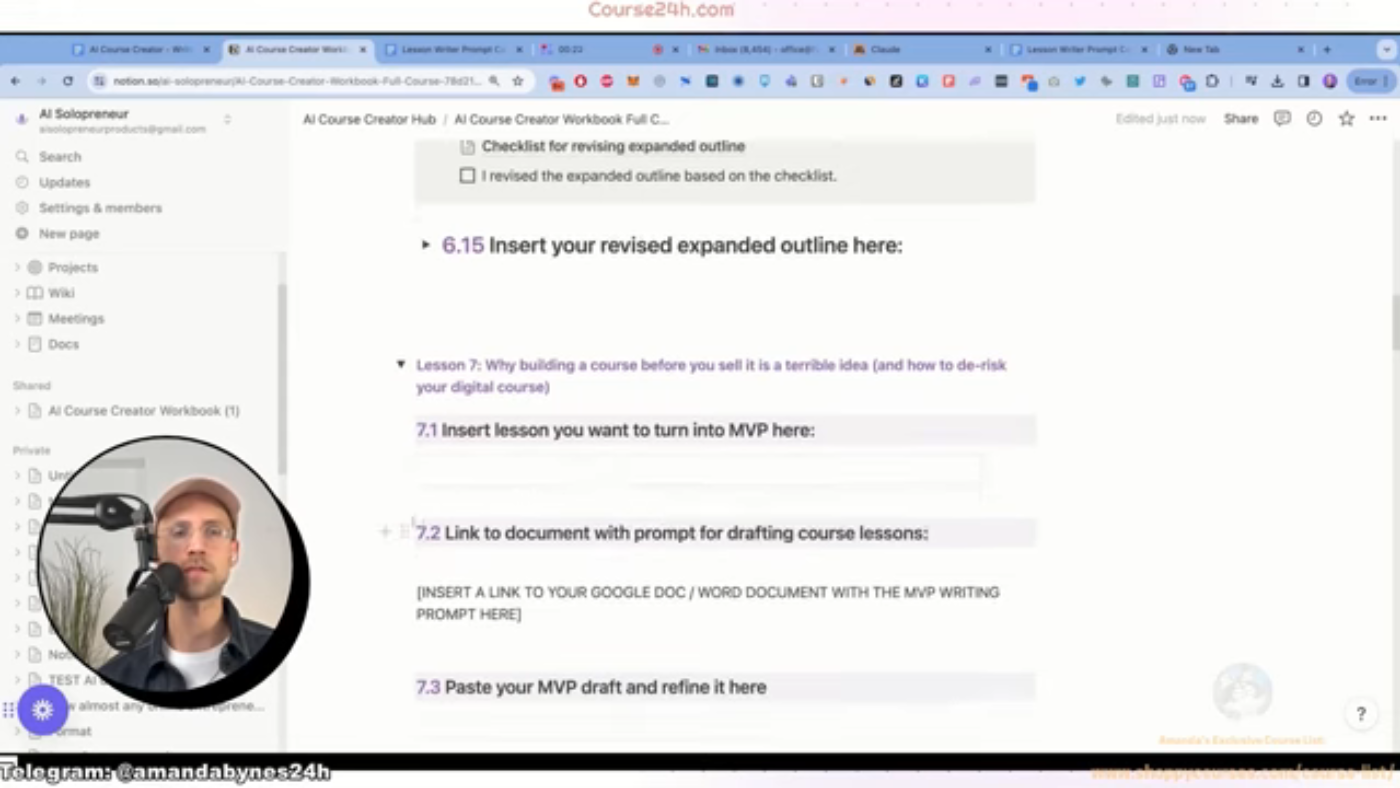
And once you've chosen the lesson, go to your workbook again, and um, insert it into 7.1, insert the lesson you want to turn into an MVP here, so I copied lesson number two out of the expanded revised outline of 6.15 and pasted it into 7.1.
 This is the caption for the image 1
Creating a Valuable Prompt
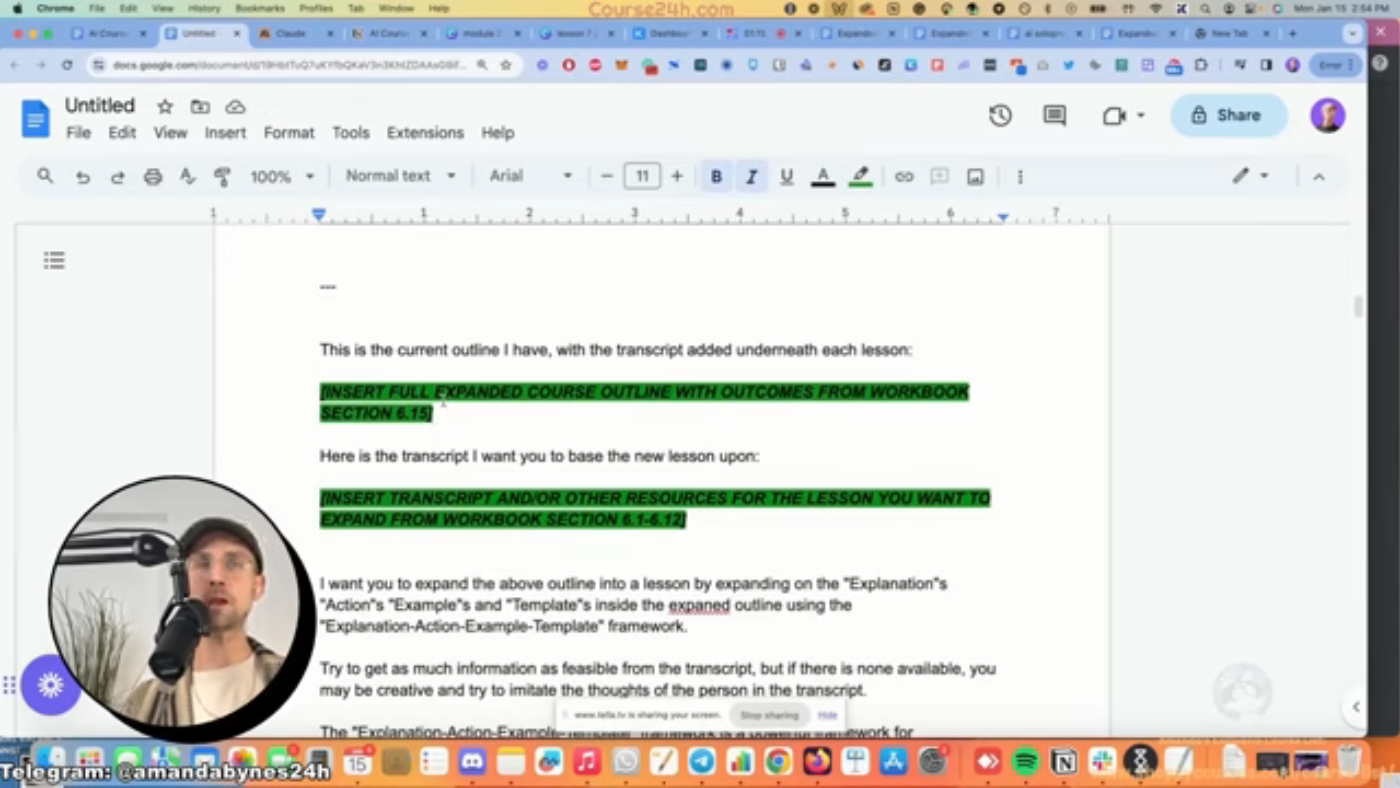
Now it's time to get into the prompting part, into the maximally valuable prompt, the MVP Creator. To get started, we open up a new Google doc, and we use the command AC c0000, which is the first one. The second one is ACC 00.
 This is the caption for the image 2
Prompting and Attaching Files
Now, scroll up all to the top, and um, here we'll insert the MVP lesson that we've chosen inside our notion dock for seven.1. So, let's start with a prompting, and to summon the prompt, we use the command AC c0000. Then, we attach a file called "tone of voice text" which contains a text file with the tone of voice that we want to use for our lesson.
Finalizing the MVP
Lastly, there is an optional thing that I kind of recommend because I always do it, and that's attaching a file or PDF with the tone of voice. Now, we can basically just attach any file or PDF, and I'm using text files, usually. Then, we just save it, um, and now it's time to copy and paste the prompt into CLA or TBT, whatever you're using.
 This is the caption for the image 3
Reviewing and Refining the MVP
So, just click on share, copy the link, go back into your workbook, and insert the link to your Google doc with the MVP writing prompt here. Now, let's copy our MVP list, so again, we go back into CLA or TBT, click on copy, go back into the workbook, and paste your MVP draft to refine it here, and that's it for this video.
 This is the caption for the image 4
Conclusion
For this video, and now we will go into the revision process, and you'll find all the different steps and checklist inside your workbook.
