Introduction to Framer
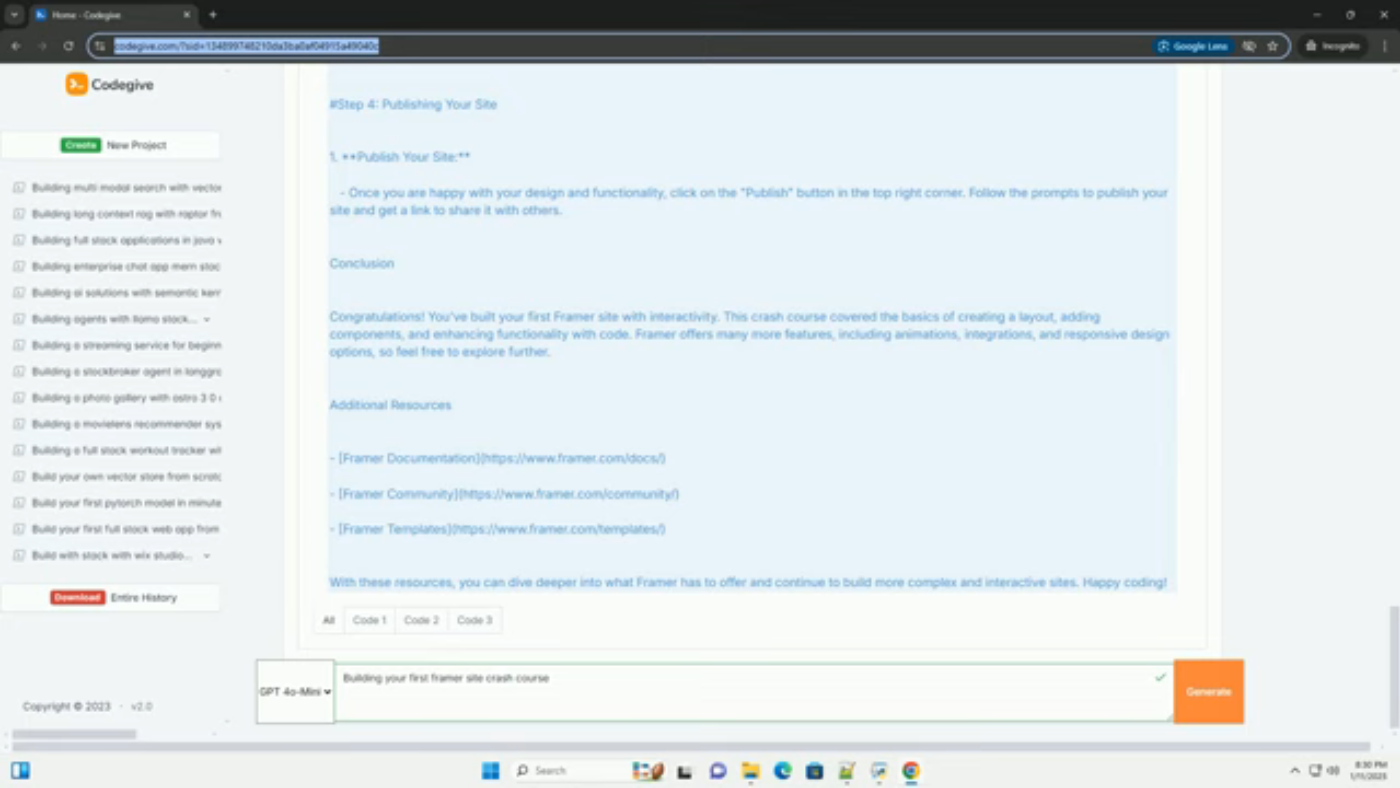
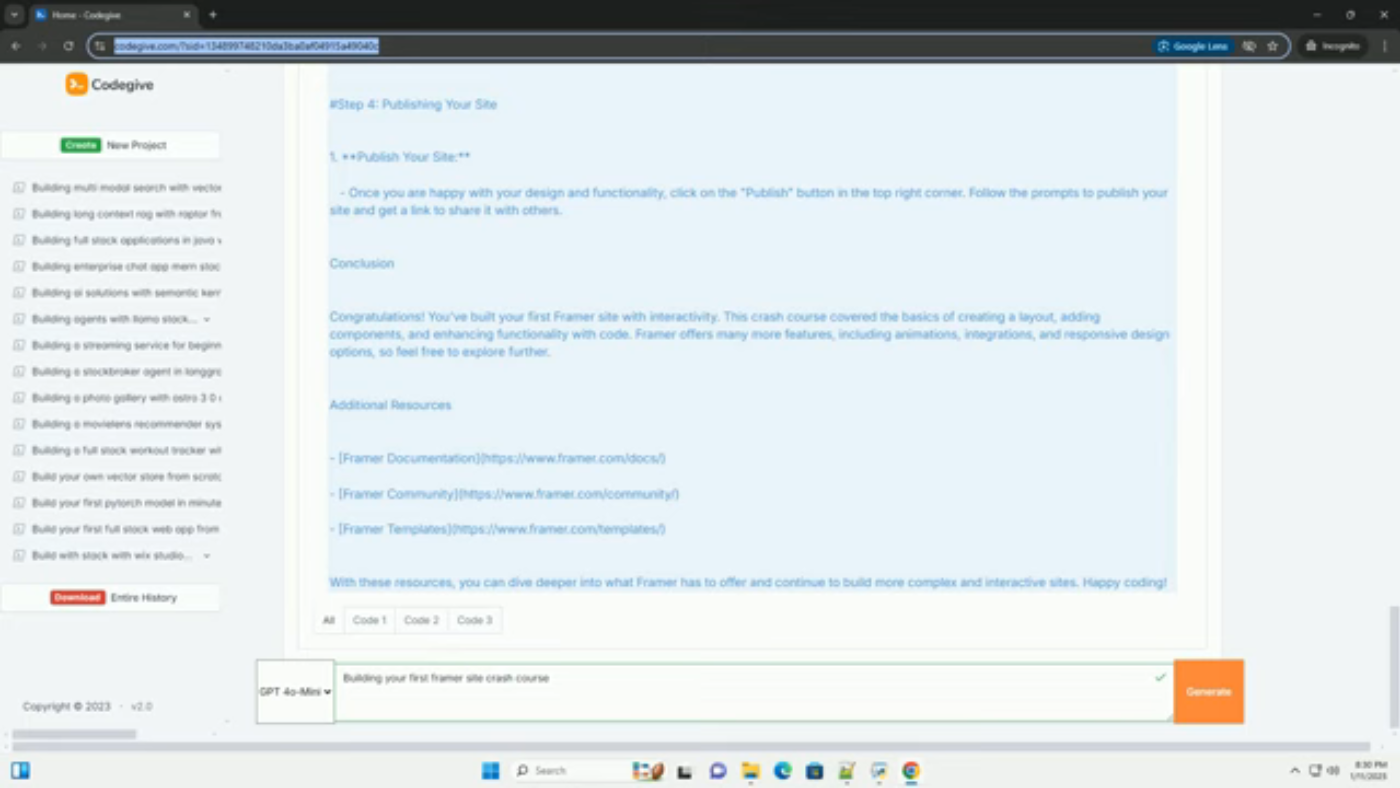
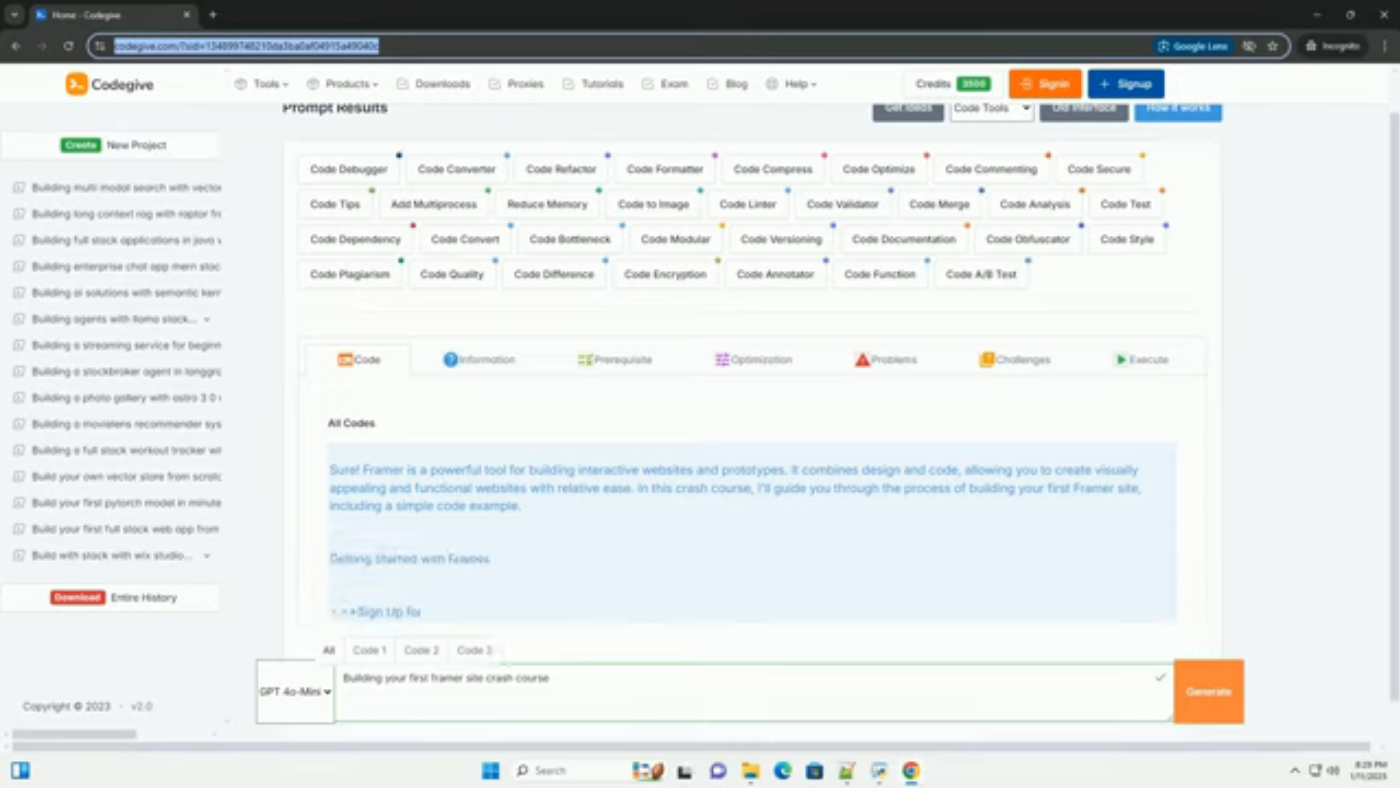
Framer is a powerful tool for building interactive websites and prototypes. It combines design and code, allowing you to create visually appealing and functional websites with relative ease. In this crash course, we will guide you through the process of building your first Framer site, including a simple code example.
Getting Started with Framer
To get started with Framer, follow these steps:
- Sign up for Framer: Go to Framer and create an account if you haven't already.
- Create a new project: After logging in, click on "Create new project" to get started with a blank canvas.
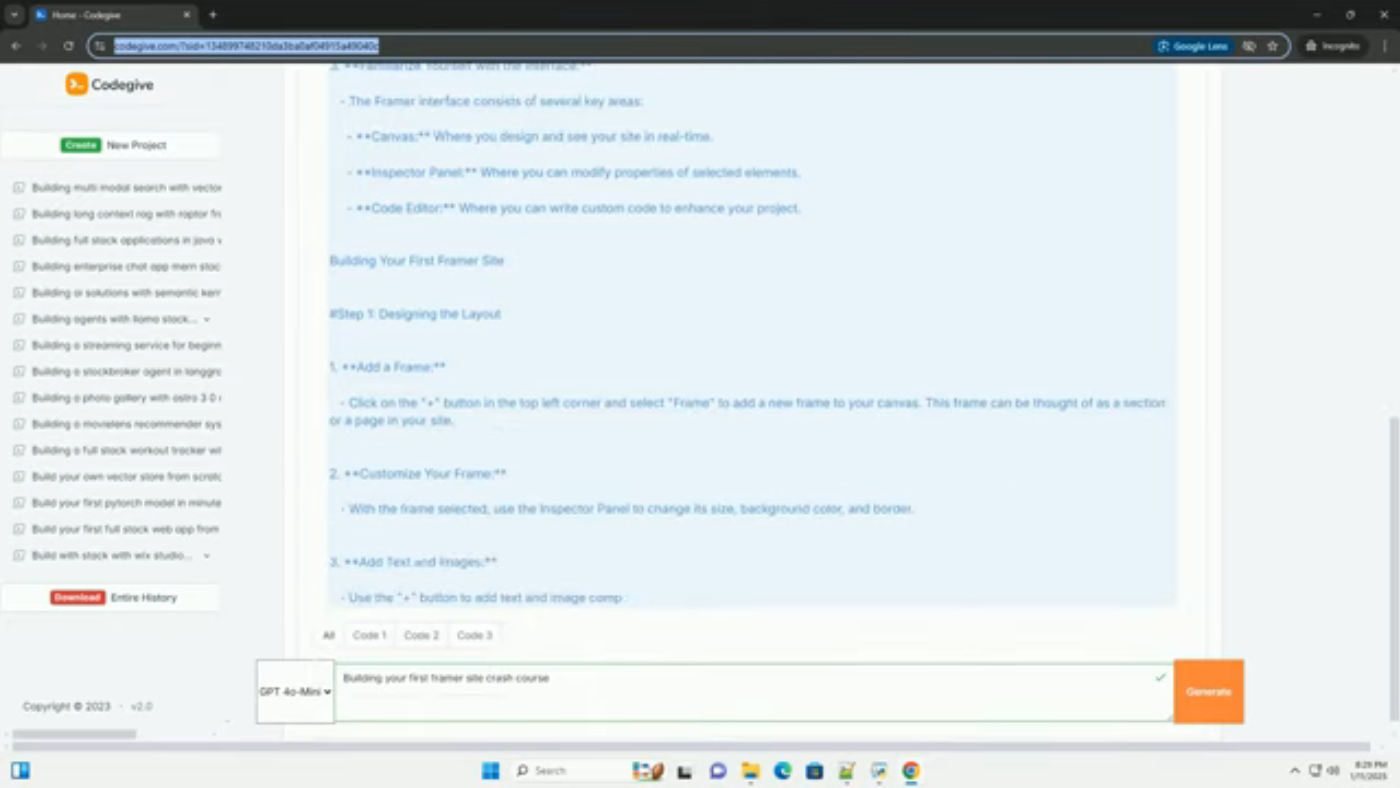
- Familiarize yourself with the interface: The Framer interface consists of several key areas:
- Canvas: Where you design and see your site in real-time.
- Inspector panel: Where you can modify properties of selected elements.
- Code editor: Where you can write custom code to enhance your project.
 Introduction to Framer Interface
Building Your First Framer Site
Step 1: Designing the Layout
- Add a frame: Click on the "+" button in the top left corner and select "Frame" to add a new frame to your canvas. This frame can be thought of as a section or a page in your site.
- Customize your frame: With the frame selected, use the inspector panel to change its size, background color, and border.
- Add text and images: Use the "+" button to add text and image components to your frame. You can customize them in the inspector panel by changing fonts, sizes, and other properties.
Step 2: Adding Interactivity with Code
Framer allows you to add custom interactions through JavaScript or TypeScript. Let's add a button that changes the background color of your frame when clicked.
- Add a button: From the components panel, drag a button onto your frame.
- Open the code editor: Click on the button you just added, and in the inspector panel, look for the "Code" section and click on "Add code".
- Write the code: In the code editor, you can add the following code to make the button change the background color of your frame.
 Writing Code for Button Interaction
Previewing Your Site
To see your site in action, click on the preview button in the top right corner. You should see the background color change when you click the button.
Publishing Your Site
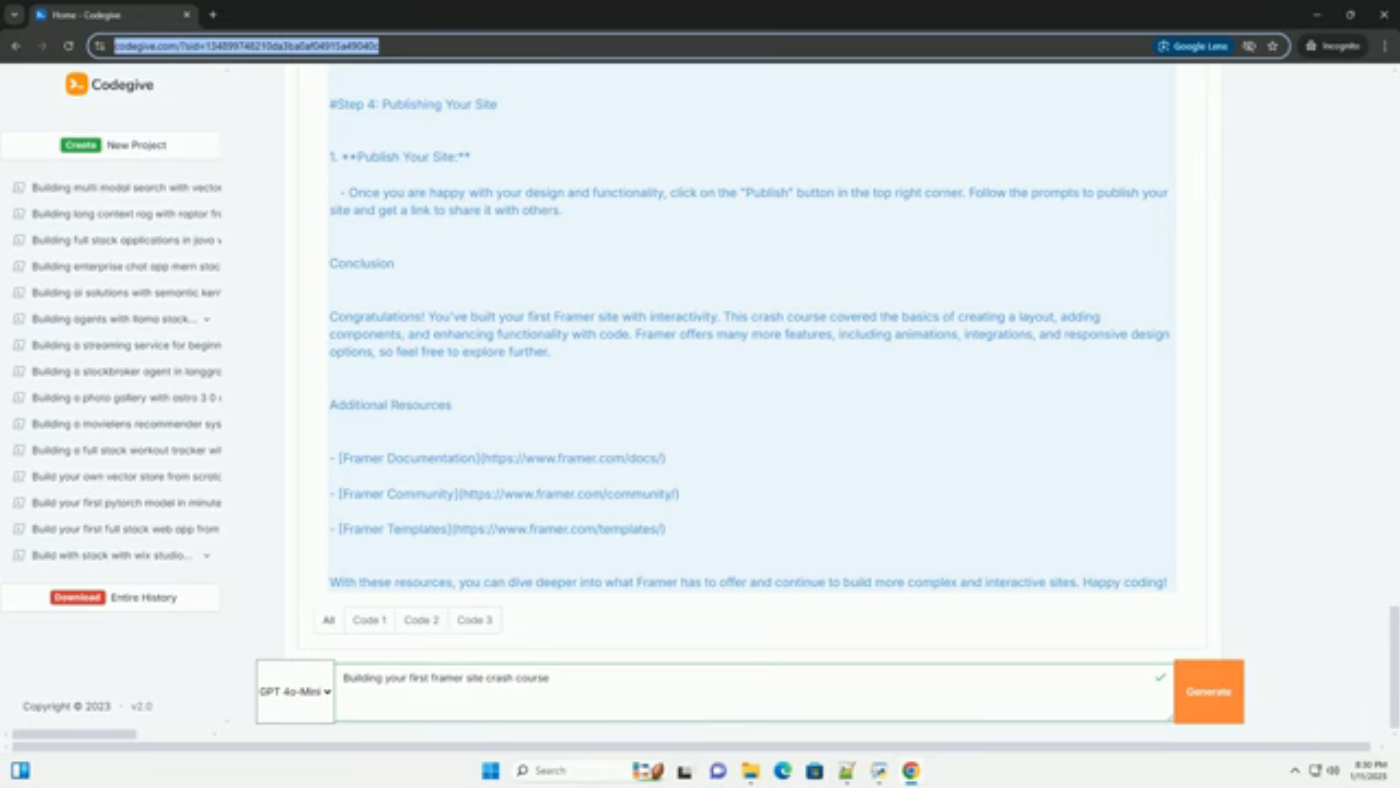
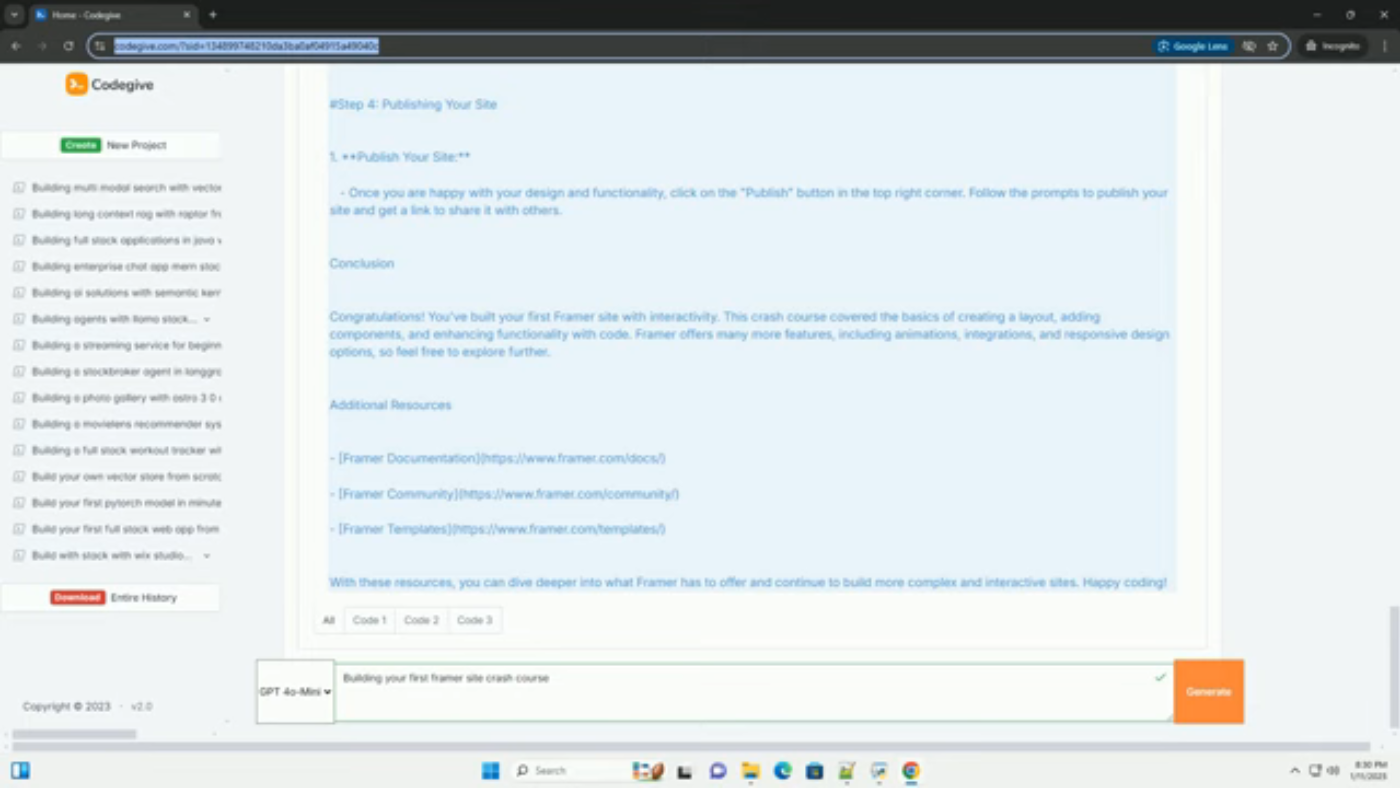
Once you are happy with your design and functionality, click on the publish button in the top right corner. Follow the prompts to publish your site and get a link to share it with others.
Conclusion
Congratulations, you built your first Framer site with interactivity! This crash course covered the basics of creating a layout, adding components, and enhancing functionality with code. Framer offers many more features, including animations, integrations, and responsive design options.
With these resources, you can dive deeper into what Framer has to offer and continue to build more complex and interactive sites. Happy coding!

