How to Implement License Keys in Electron Apps using Lemon Squeezy
Disclaimer: The author of this article hasn't had the chance to test this code in production, so use at your own risk.
In this article, we will explore how to implement license keys in Electron apps using Lemon Squeezy. The template used in this tutorial can be found at https://github.com/samuelOsborne/electron-license-key-template.
Step 1: Create a Lemon Squeezy Account and Setup a Product
First, create a Lemon Squeezy account and set up a product. Once you have a product, you can generate a test license key.
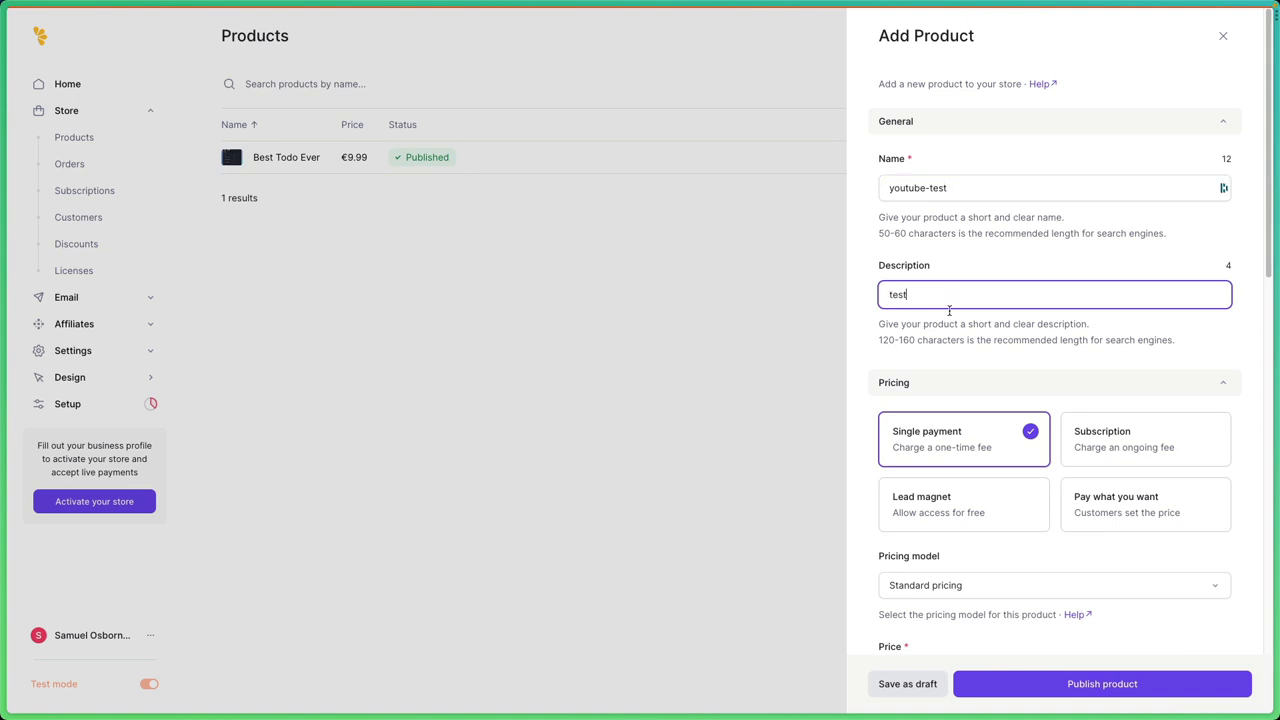
Step 2: Create a Product in Lemon Squeezy
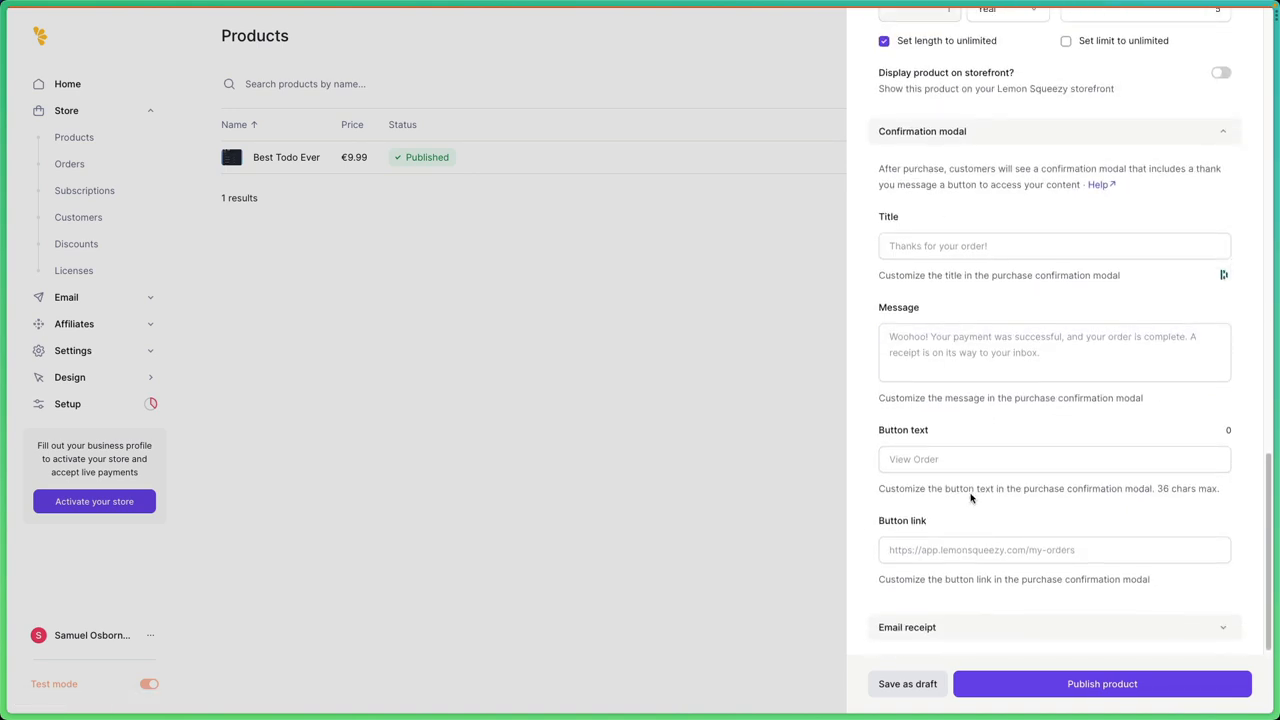
Create a product in Lemon Squeezy by clicking on "New Product" and filling in the required details.
Step 3: Generate a Test License Key
Generate a test license key by clicking on "Test Mode" and then "Generate License Key".
Step 4: Set up the Electron App
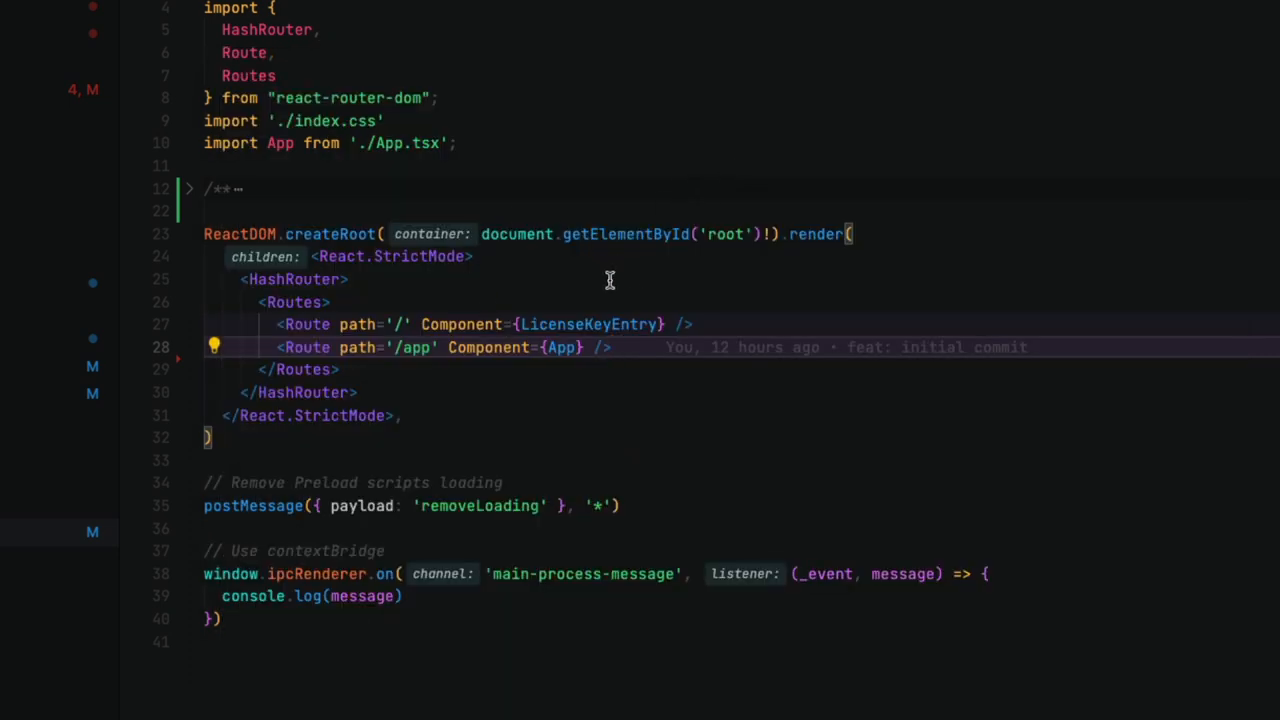
Set up the Electron app by creating a new project using the template provided. Import the electron-store package and initialize the Electron store.
Step 5: Write the IPC Handler Code
Write the IPC handler code to check if the license key is valid and activated. If the license key is valid, set it to the session storage.
Step 6: Launch the App and Test the License Key
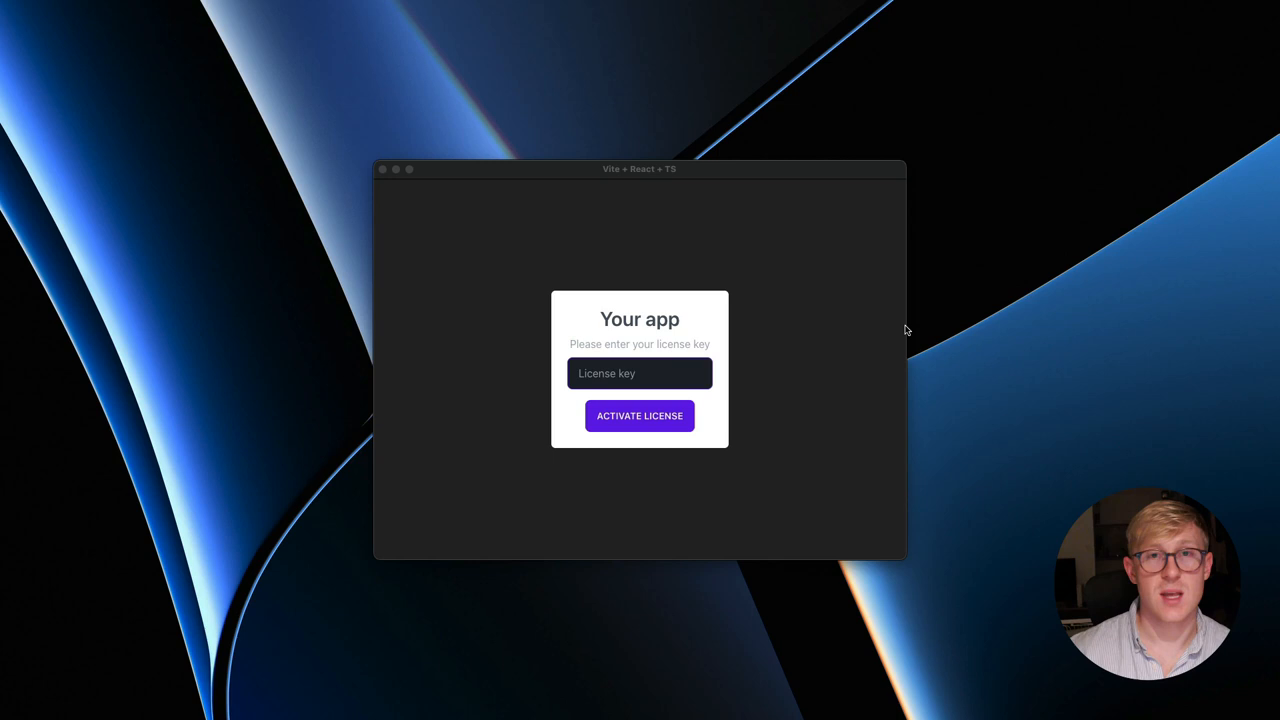
Launch the app and test the license key by entering the generated test license key. If the license key is valid, the app will navigate to the main screen.
Step 7: Deactivate the License Key
Deactivate the license key in the Lemon Squeezy dashboard. Relaunch the app and see that the license key is no longer valid.
That's it! You now have a basic implementation of license keys in your Electron app using Lemon Squeezy. The finished code will be available in a different branch on the repo.

