Getting Started with MikroTik Router: A Beginner's Guide
Welcome to our MikroTik router tutorial series. In this article, we will guide you through the initial configuration of your MikroTik router, covering the basics of connecting your router, downloading and installing Winbox, and configuring your router's IP address, DHCP server, and wireless access point.
Connecting Your Router
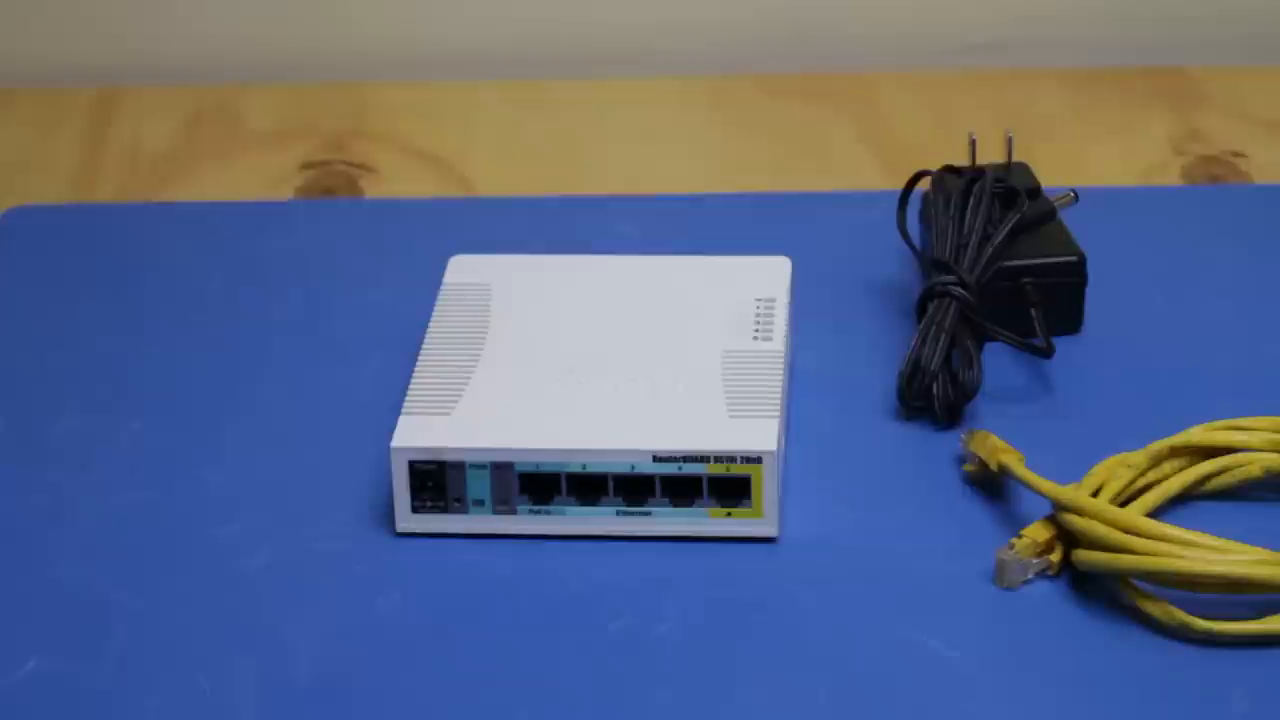
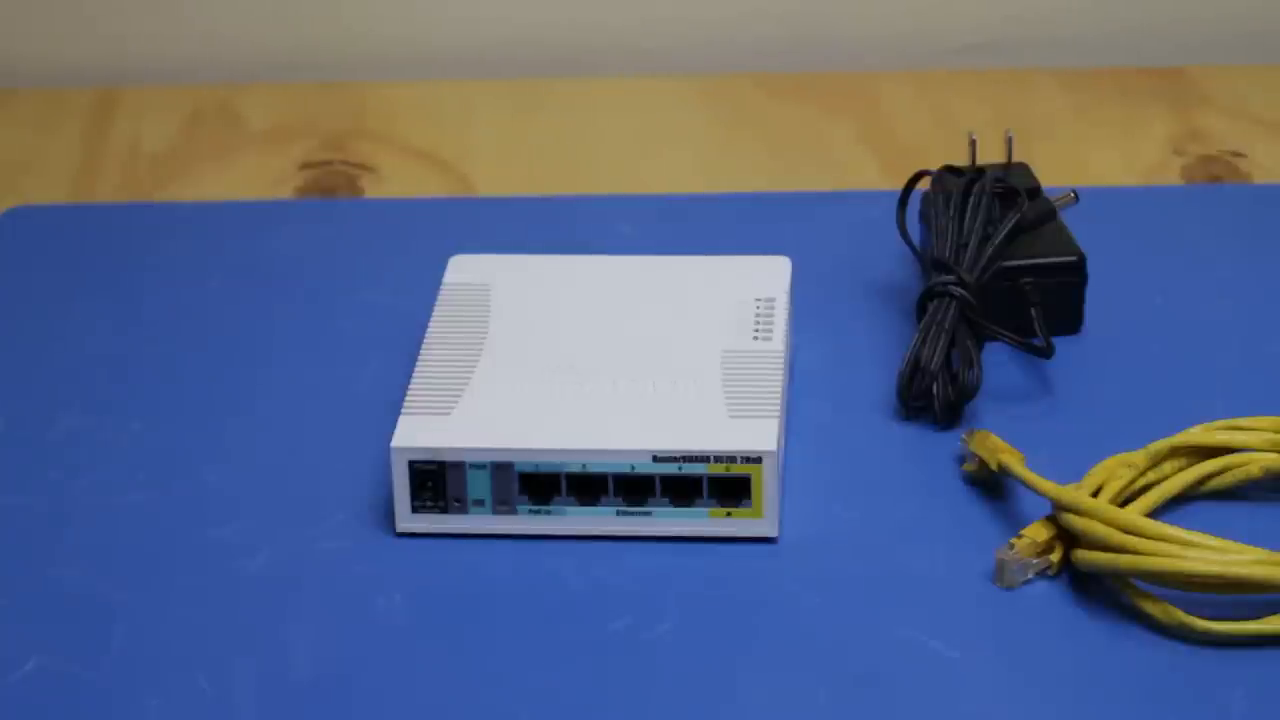
To begin, connect your router to your PC using an Ethernet cable. You can use any of the Ethernet ports on the back of your router, except for Port 1, which is blocked by default due to firewall settings. Connect the other end of the cable to your PC or laptop.
Downloading and Installing Winbox
Next, open your browser and go to MikroTik's website to download Winbox, a tool used to configure your MikroTik router. Download the latest version of Winbox and save it to a location on your computer where you can easily access it.
Initial Configuration of Your Router
Once you have downloaded and installed Winbox, open it and click on the "Neighbors" tab. Then, click "Refresh" to search for your MikroTik router on the network. Your router should be connected directly to your PC at this point.
Setting Up Your Router's IP Address
In the "IP" tab, set your router's IP address to 192.168.5.1. We are using this IP address range to prevent conflicts with other routers. Set the subnet mask to 255.255.255.0.
Configuring Your DHCP Server
In the "IP" tab, click on the "DHCP Server" tab and select a range of IP addresses to use. We recommend starting at 10 to leave room for static IP addresses. Set the ending IP address range to 254.
Configuring Your Wireless Access Point
In the "Wireless" tab, set the frequency to "Auto" to allow the router to change frequency based on the best signal strength. Set the SSID (wireless network name) to a name of your choice, but for now, we will leave it as "MikroTik". Set the security profile to "Dynamic WEP" and tick "WPA2 PSK" for a secure wireless connection.
Rebooting Your Router
Finally, go to the "System" tab and click "Reboot" to apply all the changes you have made. Your router will now reboot, and you can verify that it is working by looking at the Wi-Fi light flashing and the port where your Ethernet cable is plugged in lighting up.
Conclusion
In this tutorial, we have covered the initial configuration of your MikroTik router, including connecting your router, downloading and installing Winbox, and configuring your router's IP address, DHCP server, and wireless access point. Stay tuned for our next tutorial in this series, where we will cover more advanced topics in configuring your MikroTik router.
Images:
 This is the initial configuration of the router
 [Downloading Winbox from the MikroTik website](https://www.youtube.com/watch?v=76nK1LXyPMA&t=18s
