Here is the article:
Secure Your Local Network with Custom Domain, SSL Encryption, and Subdomains: A Comprehensive Tutorial
Introduction
Are you tired of typing in boring IP addresses and ports to access your local services? Do you want to make managing your home server more secure and efficient? In this article, we will show you how to create a setup that makes accessing your local services more secure and convenient. By the end of this tutorial, you will have a custom domain, SSL encryption, and subdomains for your services like Proxmox, TrueNAS, and more.
Step 1: Create a Free Domain on DuckDNS
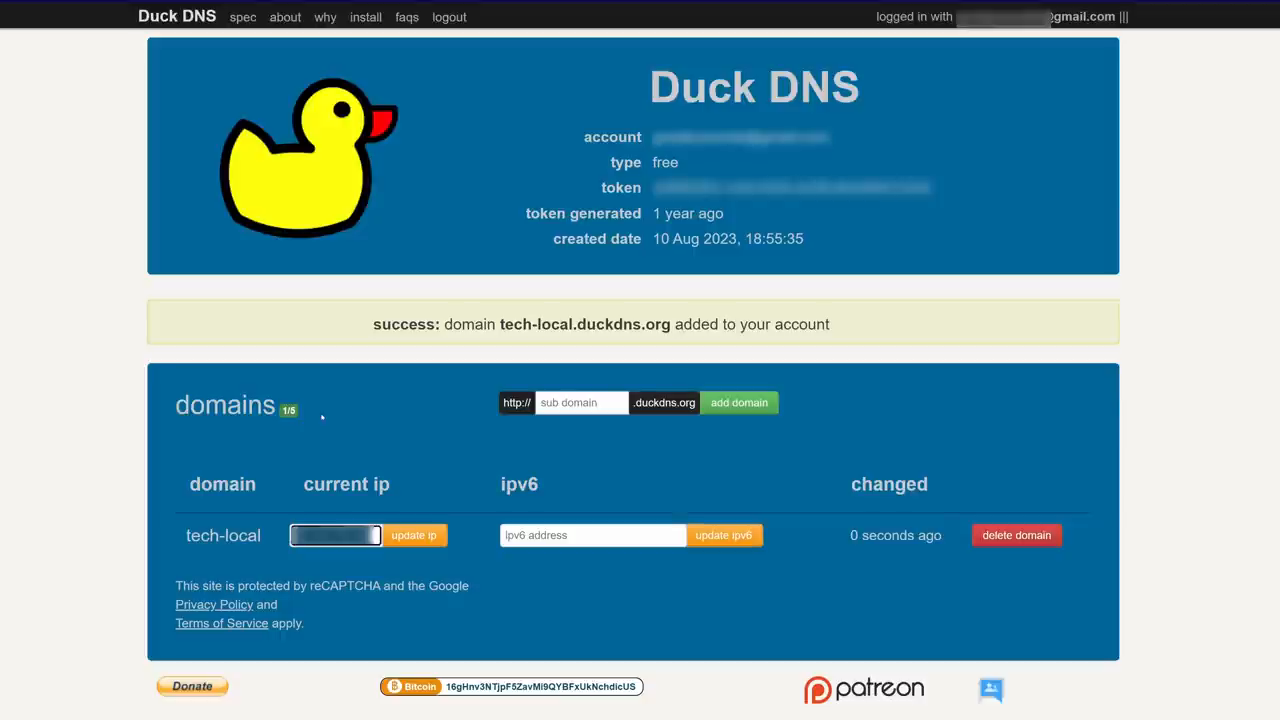
To start, we need to create a free domain on DuckDNS.org. We can log in using any of the available accounts, including Google. Once logged in, we can see our account information, account type, token, and account creation date. We will only need the token while generating the SSL certificate using Let's Encrypt.
Step 2: Generate an SSL Certificate with Let's Encrypt
Next, we need to generate an SSL certificate using Let's Encrypt. We will use the token we generated earlier and set up a domain for our internal services. Once the domain is created, this will be the entire format of it, and it will be a subdomain of DuckDNS.org. We will use it for our internal purpose only, so give your domain a name and click on Add Domain.
Step 3: Set Up Nginx Proxy Manager with Docker
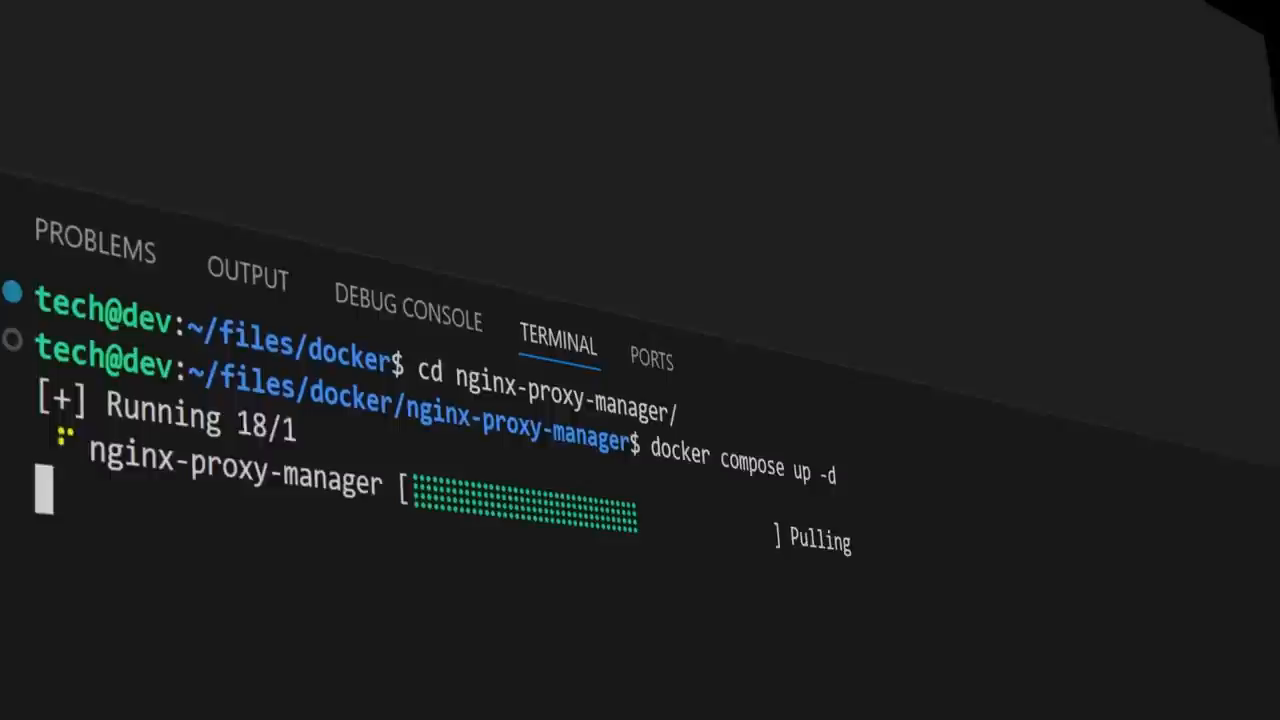
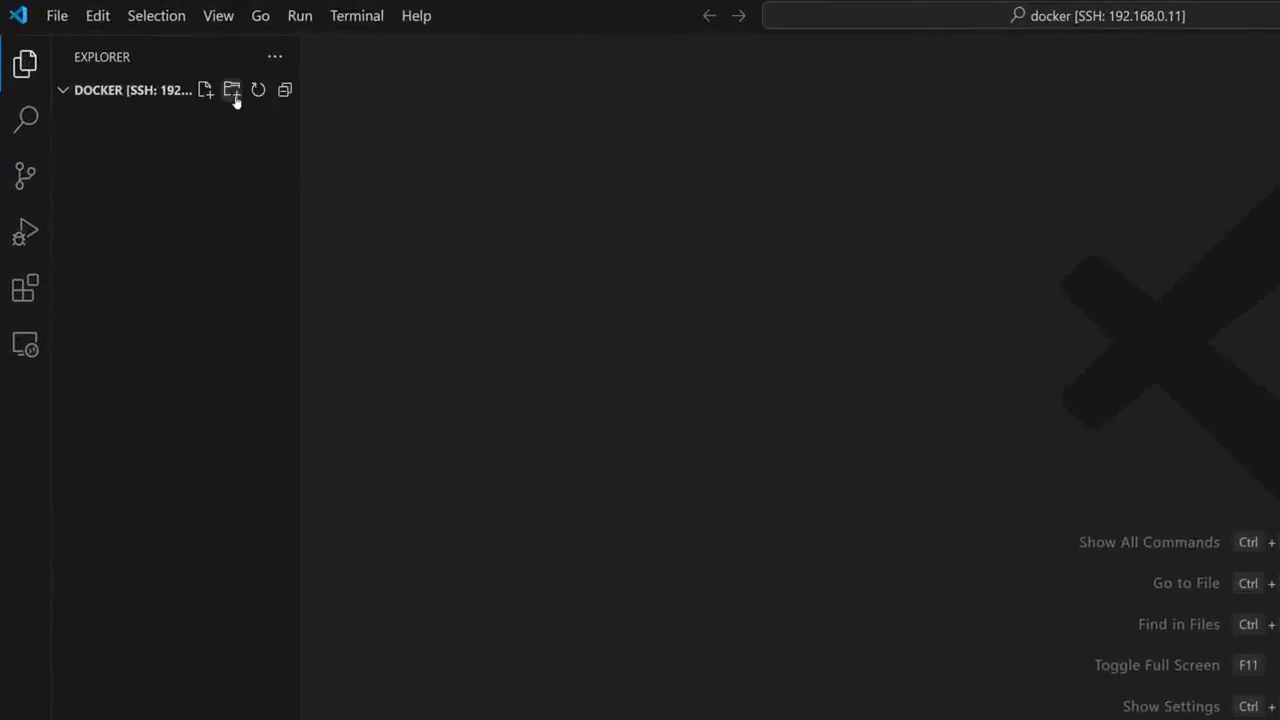
Now, we need to set up Nginx Proxy Manager with Docker. We will guide you through finding the right Nginx Proxy Manager container on Docker Hub and setting up a Docker Compose file to run it locally. We will also provide you with a Docker Compose file tutorial.
Step 4: Access Proxmox and TrueNAS with Subdomains
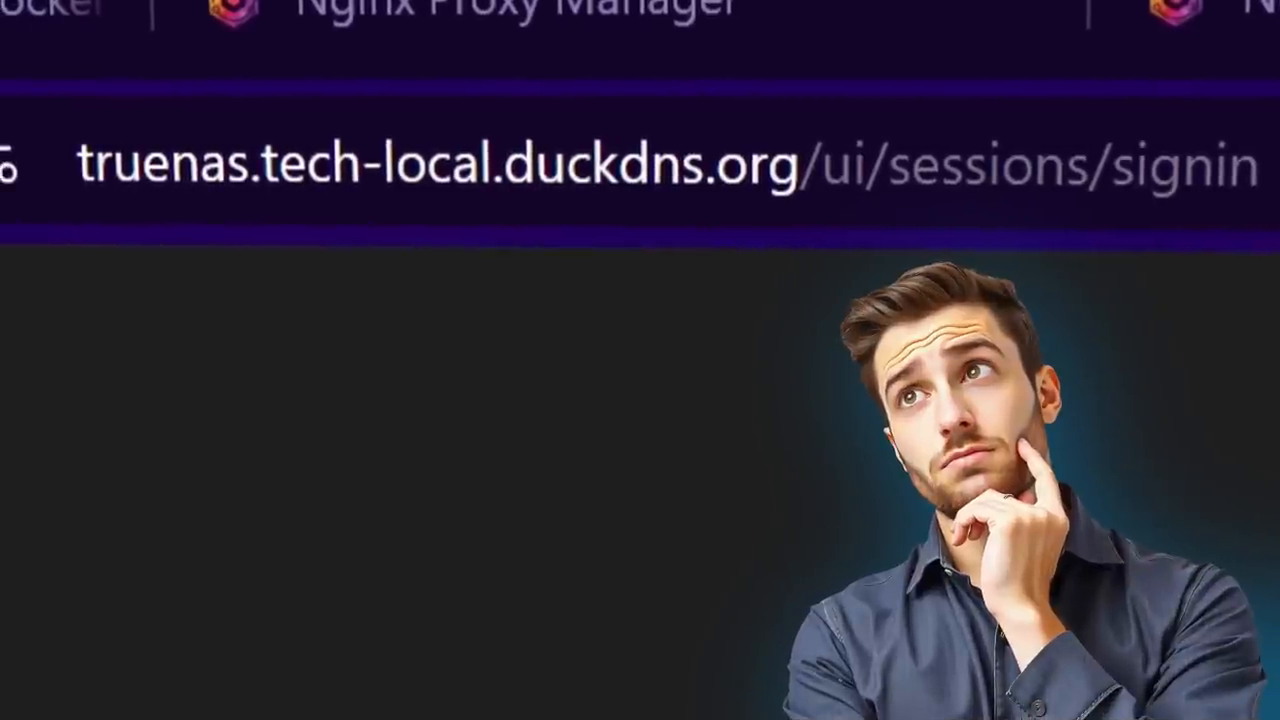
Next, we will create subdomains using our DuckDNS domain and SSL certificates, allowing us to securely access Proxmox and TrueNAS from our local network.
Step 5: Configure Reverse Proxies for Proxmox and TrueNAS
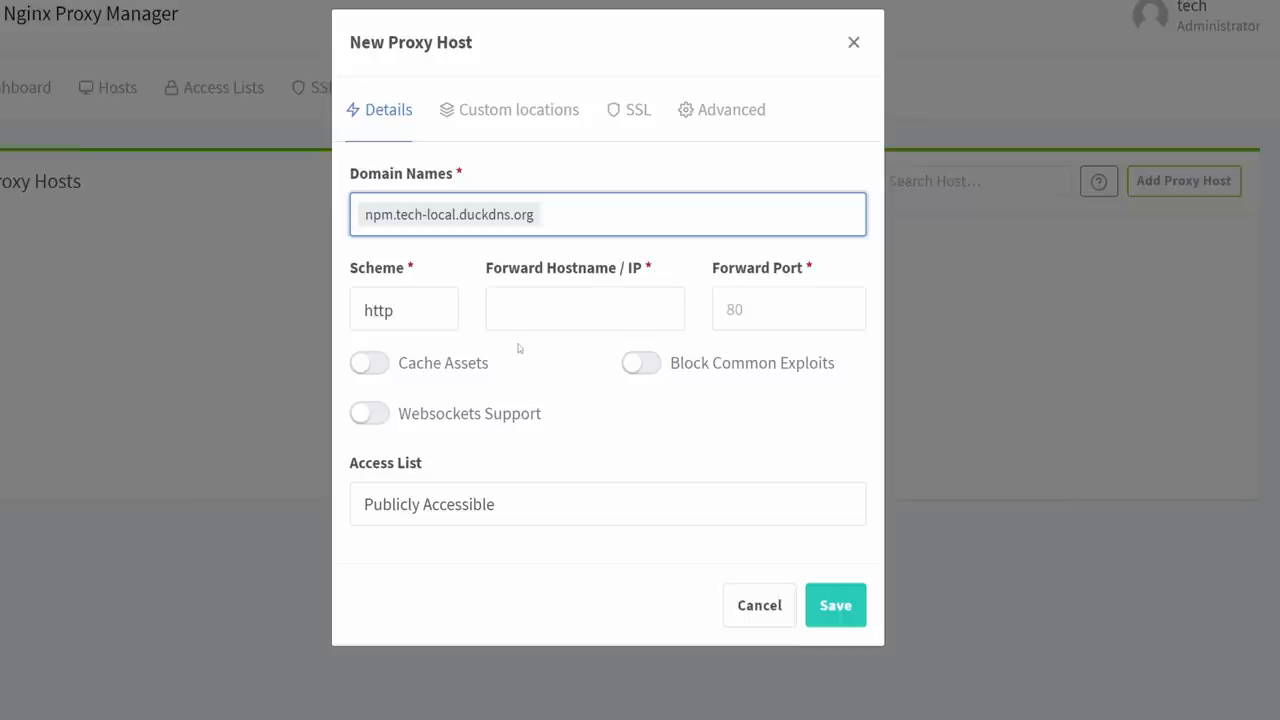
Now, we will configure reverse proxies for Proxmox and TrueNAS. We will set up a new domain name for each service, enter the IP address and port number, and enable features like websockets and SSL certificates.
Conclusion
By following these steps, you will have a setup that makes managing your home server more secure and efficient. You will be able to access all your local services with secure connections on custom domains with SSL encryption. Don't forget to hit the Subscribe button for plenty more content like this one coming your way.
 Create a Free Domain on DuckDNS
 Generate an SSL Certificate with Let's Encrypt
 Set Up Nginx Proxy Manager with Docker

