How to design UI/UX: A step-by-step guide
UI/UX design is an essential part of creating functional and visually engaging digital products, whether that be a website, an app, a game, or any other type of interface. While learning and mastering design tools like Figma may be easy, the most critical aspect is understanding the purpose and process behind designing for users. This article outlines the foundational steps of UI/UX design, focusing on the 20% of principles that you'll use 80% of the time in your projects. Follow this step-by-step guide to understand what it takes to create effective and intuitive interfaces.
Getting started: design starts with an idea

"Design starts with a main idea or a solution to a problem."
Every great design starts with a focus. It could be an idea, a solution to a problem, or a specific use case that needs addressing. Think of designing as problem-solving with aesthetic and functional intent. For example, imagine needing a web application to categorize and display design inspirations for developers and designers to explore. A well-thought-out idea sets the foundation for your design, ensuring it targets user needs effectively. From there, it's all about turning the idea into an actionable process, starting with understanding your users.
Step 1: mapping the user flow

"A user flow guides the journey from start to finish."
User flow refers to mapping the journey of your users from the moment they land on your platform to when they achieve their goal. Every product has its primary objective: accessing information, making a purchase, subscribing, or using the service. Designing begins by understanding the steps users must take, and creating a user flow diagram is the best way to achieve this.
For instance, if users need to find specific designs on a site, the process might include landing on the homepage, selecting a design category, and browsing the grid of inspirations until they find what they need. This step ensures that their journey is intuitive and efficient.
Step 2: creating wireframes

"Wireframes lay the foundation for visuals and interactions."
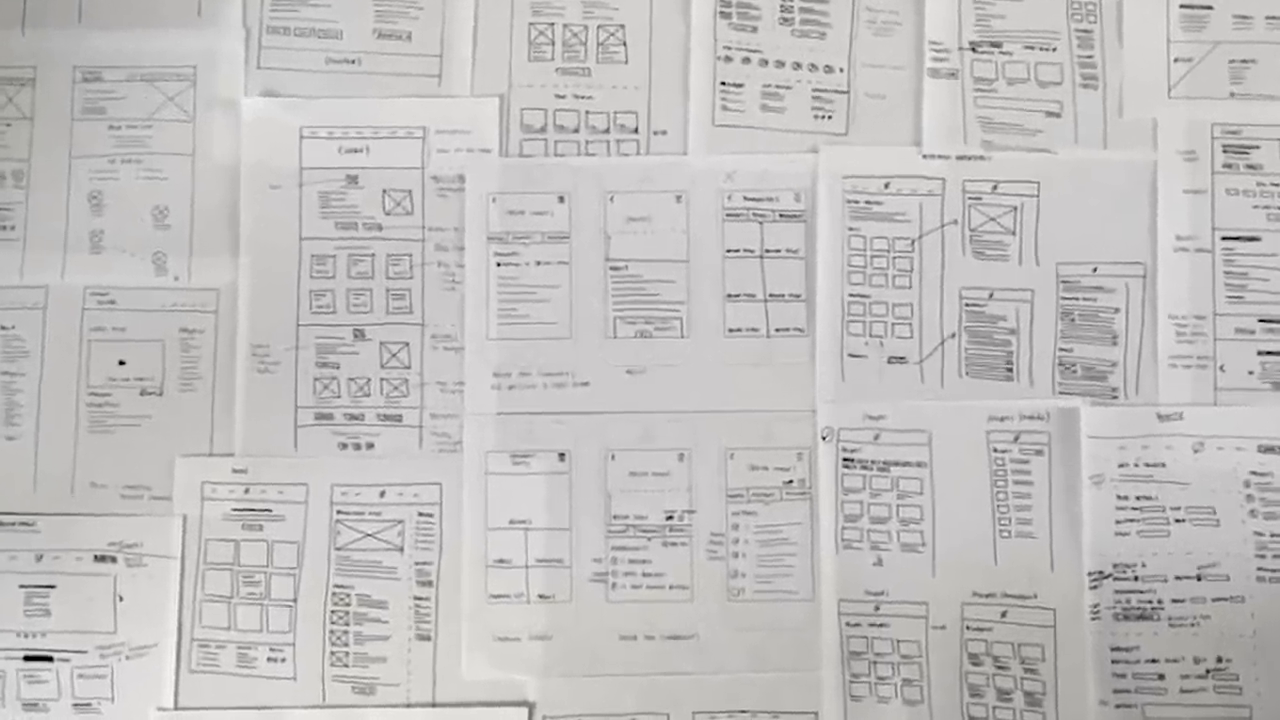
Wireframing bridges the user flow diagram to the actual features and screens of your project. It involves sketching layouts for the pages/screens that lead users toward their objective, with each screen serving a purpose in that journey.
Historically, wireframes were drawn with pen and paper, but now tools like Balsamiq, Figma, and Freehand make this process seamless. For example, a simple website design aiming to showcase category-based design inspirations might only feature a single clean screen. The navigation bar, sidebar with categories, and a clickable grid of designs form the wireframe.
Good wireframes incorporate user behavior analysis to predict user expectations, keeping the designs functional and user-friendly. Think of this as building a blueprint for your user experience (UX) design.
Step 3: creating a design system
"Every design process needs guidelines for consistency."
This stage marks the transition into user interface (UI) design, where the focus shifts to visuals and consistency. A design system is essentially a collection of reusable components like colors, fonts, buttons, forms, and icons that maintain consistency across the design.
Choosing colors wisely
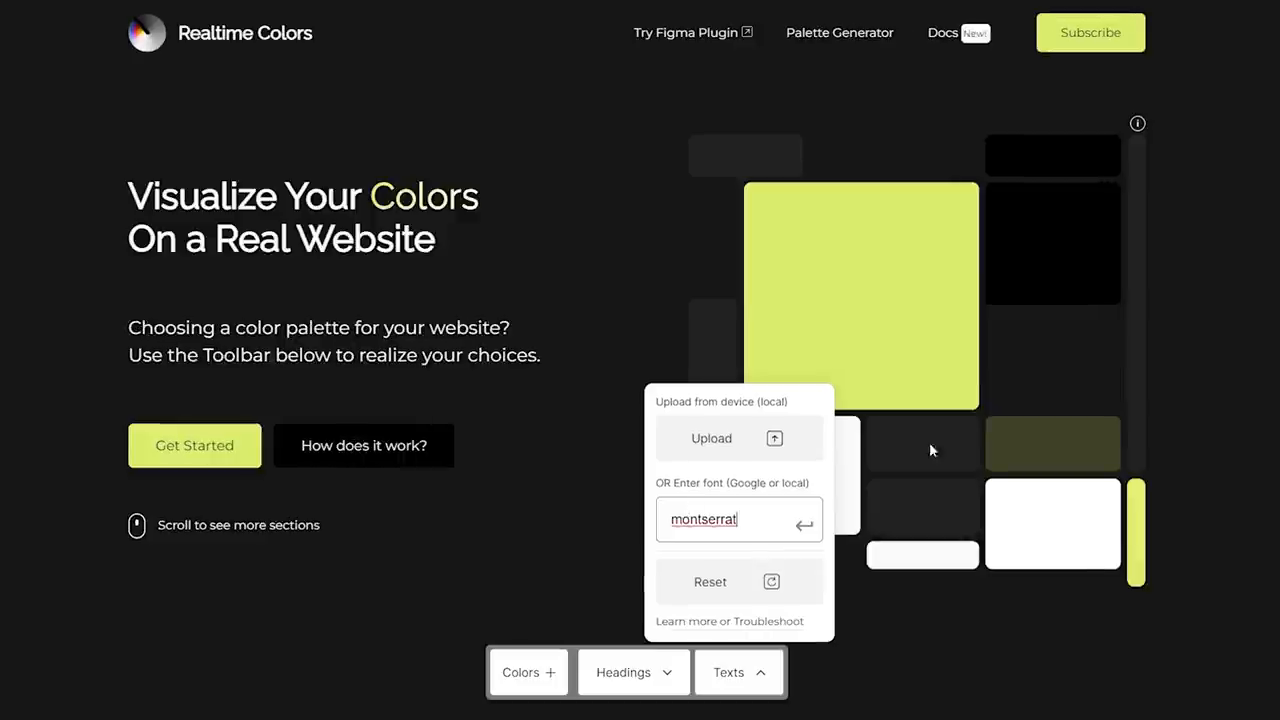
Colors should align with the brand’s value and purpose. For a minimal, dark-mode design, neutral tones like black, gray, and white, with one vivid primary color, might work best. Tools like Realtime Colors help simulate color choices to ensure they are harmonious and accessible.
Font impact
Fonts significantly influence readability and the emotion your design evokes. From "professional" to "playful," font selections like Space Grotesque or Ubuntu (as used here) can communicate different vibes. Using tools like Type Scale can help in selecting the right sizes for readability.
Elements and components
Other critical components, such as buttons, cards, and icons, are part of the design system. You can choose clean and minimal elements or customize designs to match the project's vibe. Platforms like Dribbble and Behance offer inspiration for these styles.
Step 4: actual designing
"Now it's time to integrate all principles and elements into one cohesive design."
Designing is where all components—user flow, wireframes, and design systems—come together. But this process requires more than assembly; it also involves adhering to key UI principles:
- Visual hierarchy: Guiding users through content in order of importance.
- Contrast: Ensuring elements like text and buttons are distinguishable and accessible.
- Balance: Maintaining proper spacing and structure across the layout.
- Consistency: Ensuring uniformity among design elements to avoid user confusion.
- Simplicity: Keeping designs intuitive and straightforward.
- User feedback: Providing responses for user actions to keep them engaged and informed, such as hover states or animations.
Designing also means continuously testing and refining prototypes until the interface meets the user's expectations.
Bonus step: using illustrations and visuals

"Enhance designs with custom or free visuals and illustrations."
Illustrations and visuals add vibrancy to your designs and connect with users better. Tools like Figma, or even 3D software like Spline, can help you craft custom graphics that complement design elements. Alternatively, platforms offering free or premium illustrations save time while providing professional aesthetics.
For projects requiring minimal design, like the one in this guide, there may not always be a need for elaborate visuals. However, adding relevant graphics can elevate the overall look and UX.
Beyond the basics: improving, iterating, and designing more

"This is just the start of a design journey."
Taking things further, this project was developed into a live site, turning ideas and designs into shareable resources. The journey of UI/UX doesn't stop at one project—it's about improving, iterating, and creating more designs. Constantly testing your ideas, seeking feedback, and exploring design inspirations will help you grow and sharpen your craft.
And remember, design is not about perfection on day one—it's about refining as you go and enjoying the process. Happy designing!
